- TOSIZE.es
- Do it yourself
- DIY Projects
Closing an open staircase with risers, by Alex
Closing an open staircase with risers, by Alex


Create this project yourself with sheet material cut to size by TOSIZE.es!

Alex

Average
2 minutes
Make Your Stairs Safe and Stylish
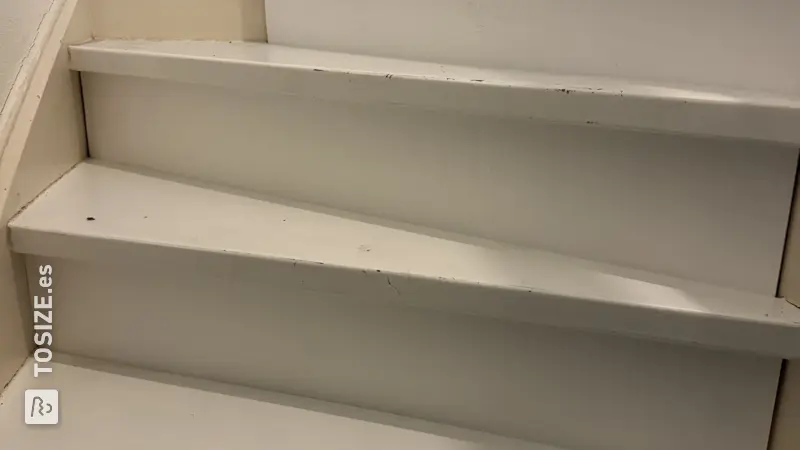
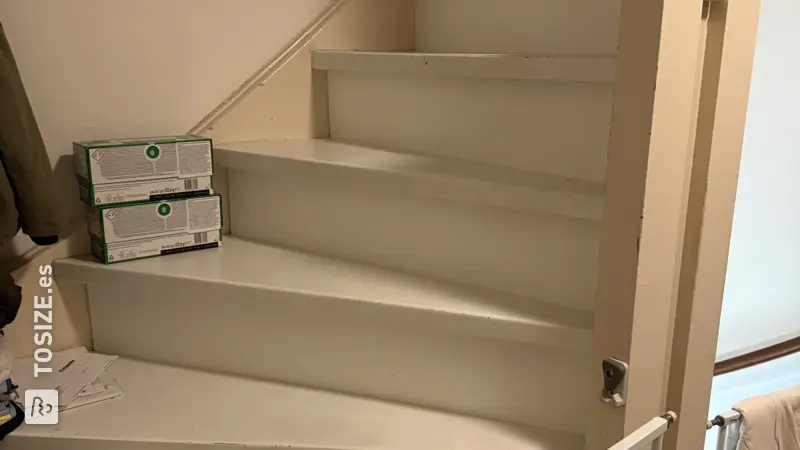
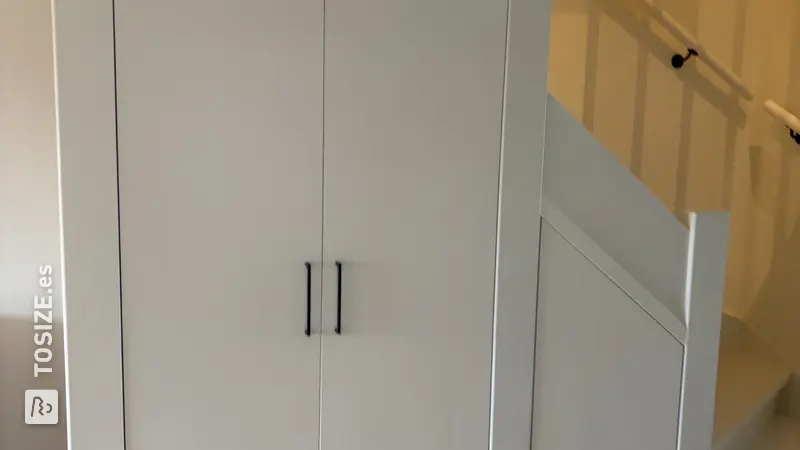
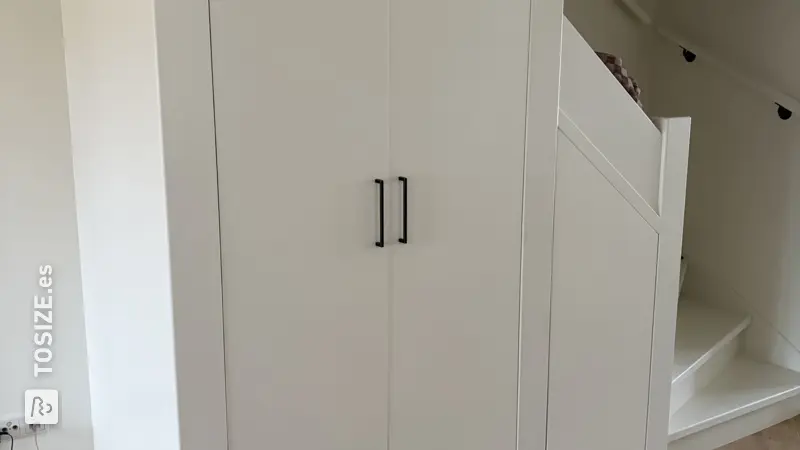
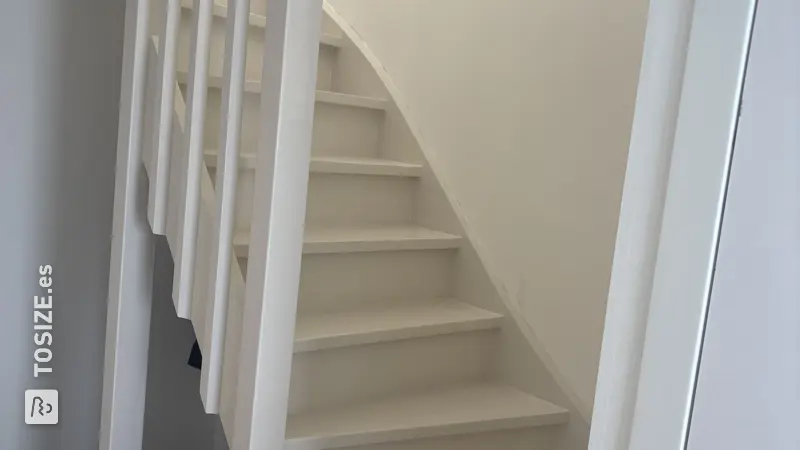
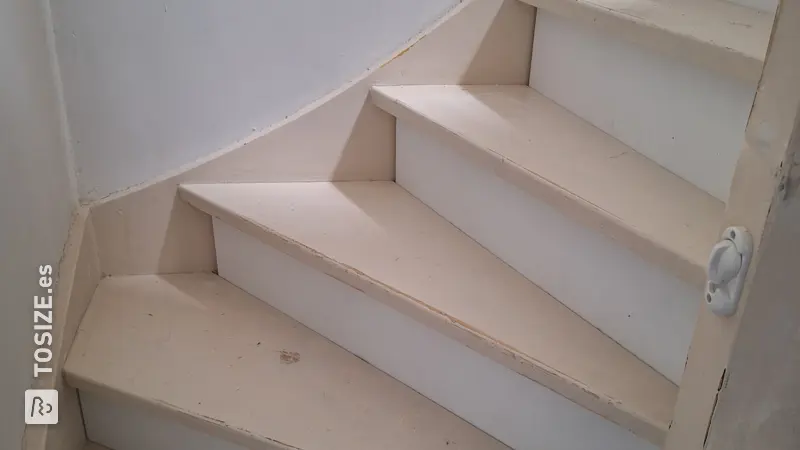
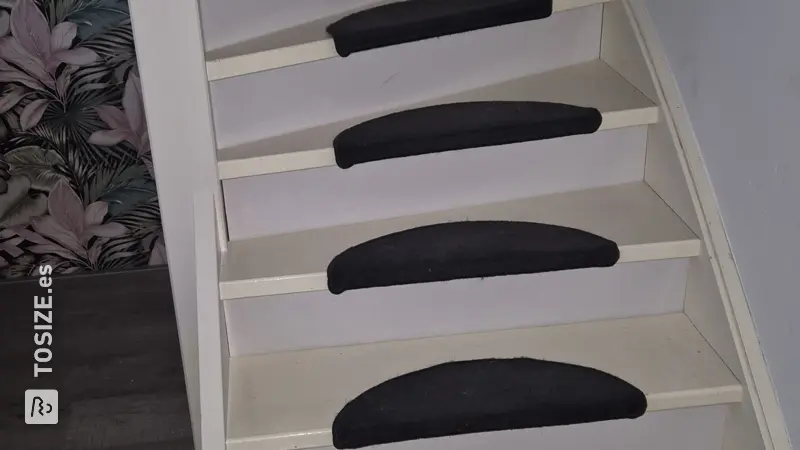
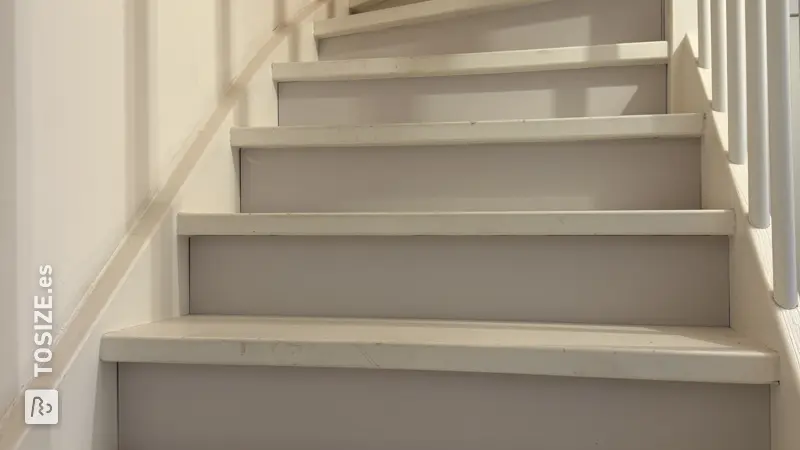
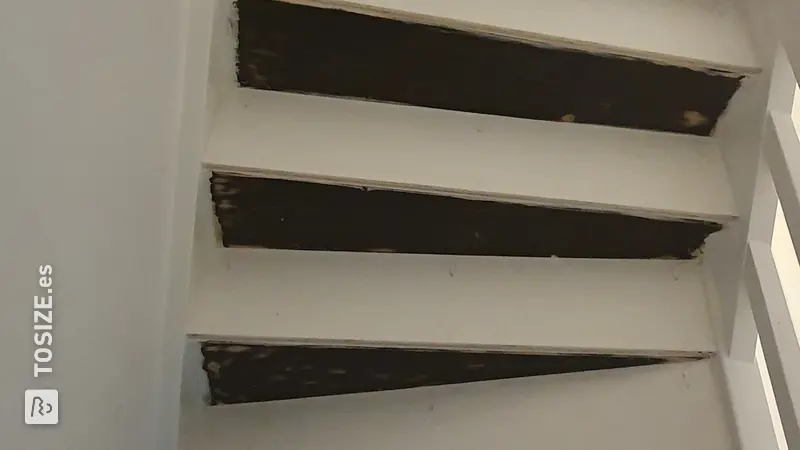
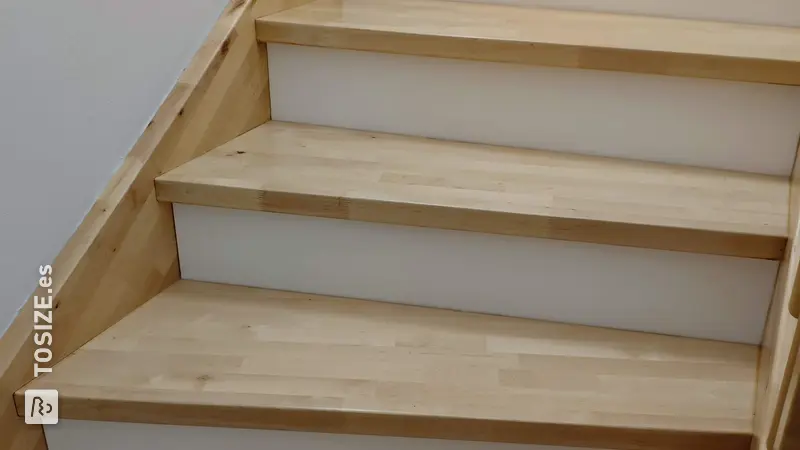
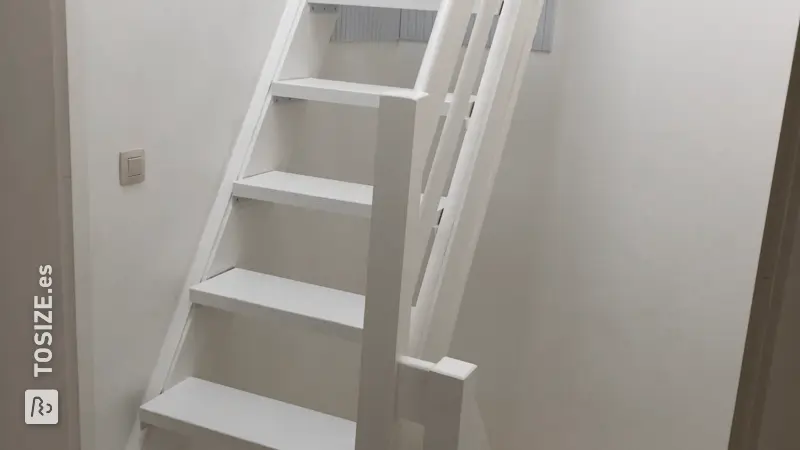
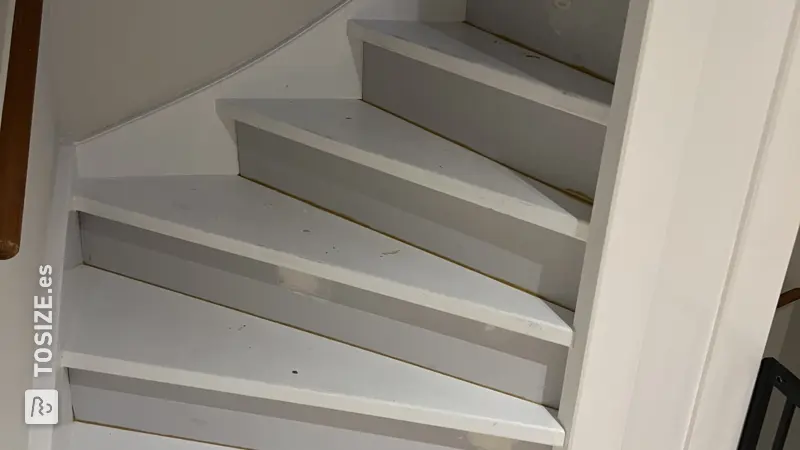
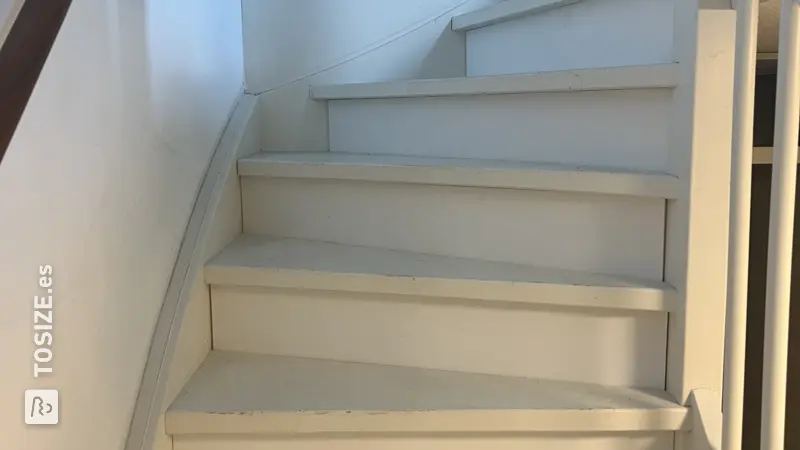
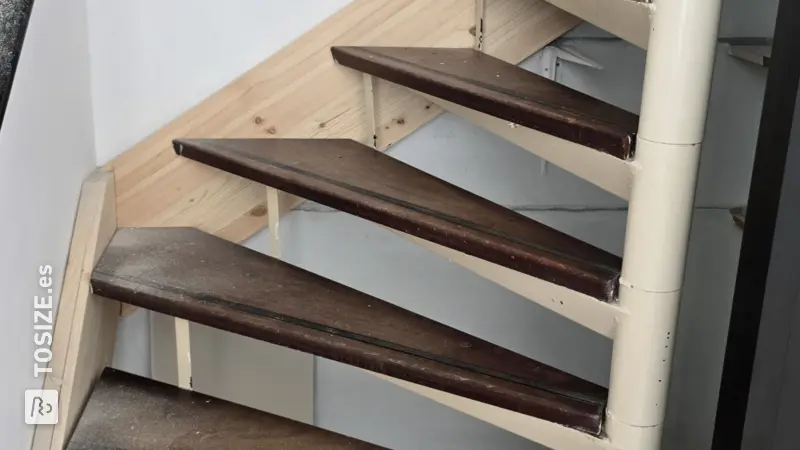
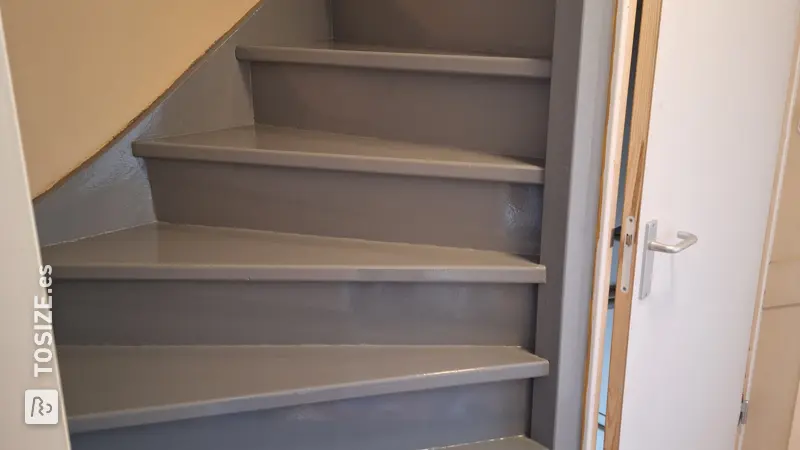
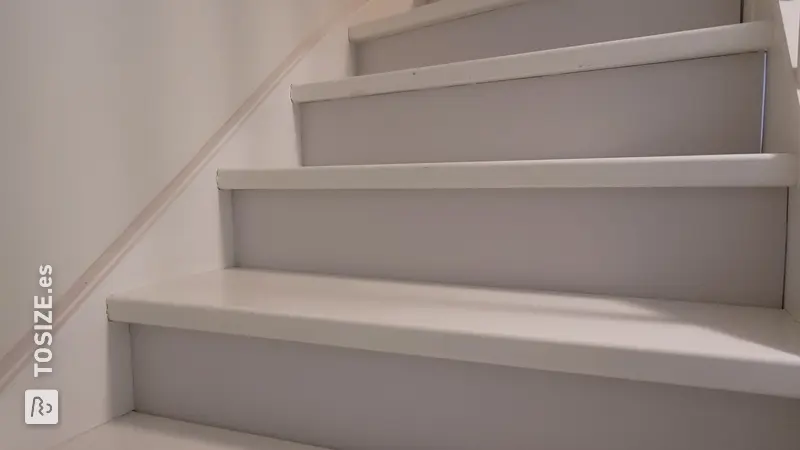
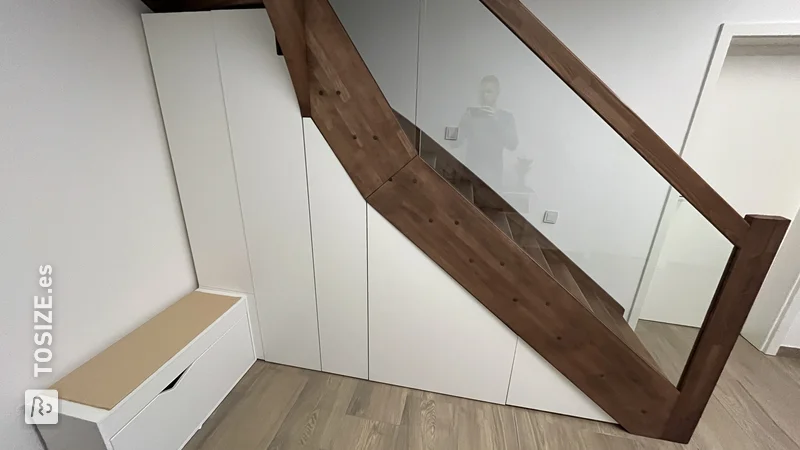
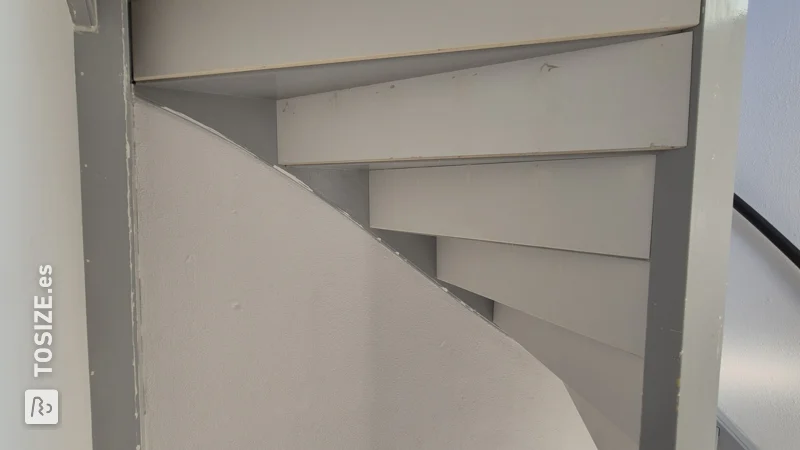
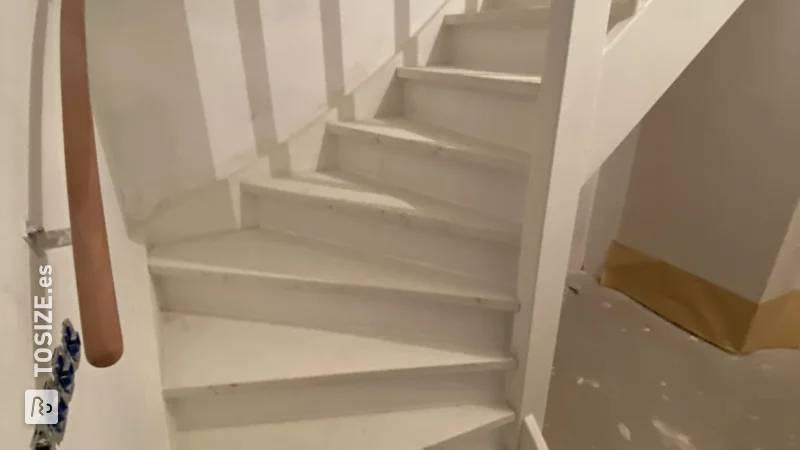
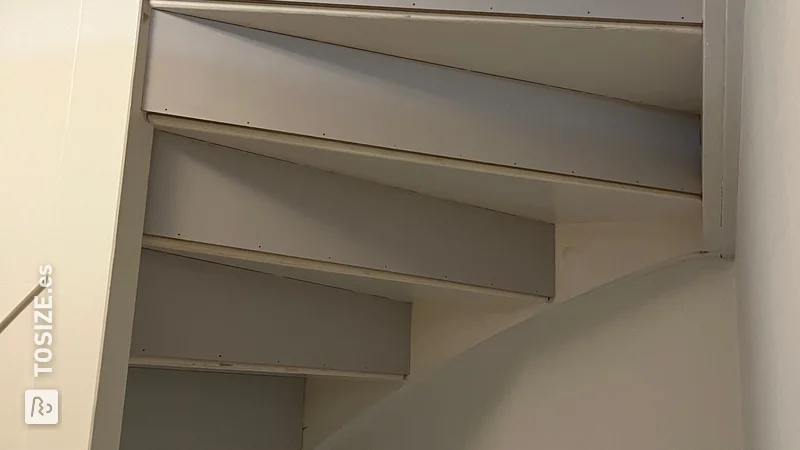
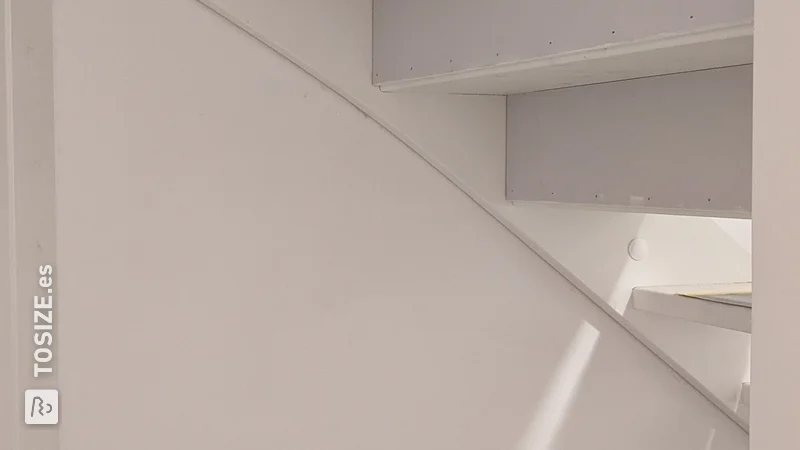
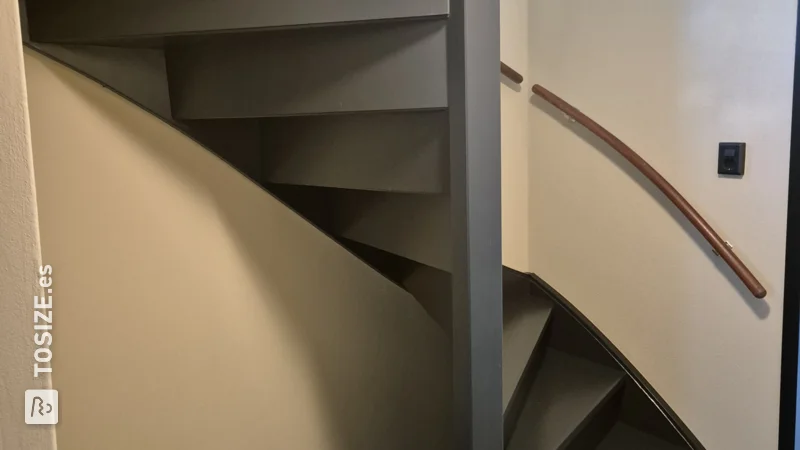
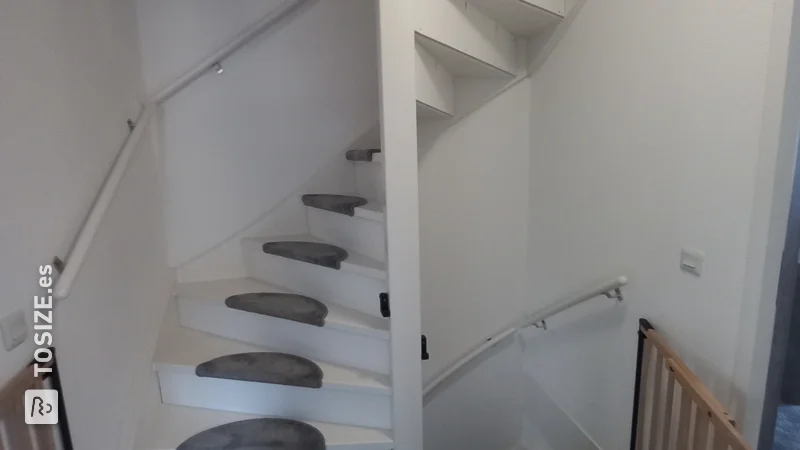
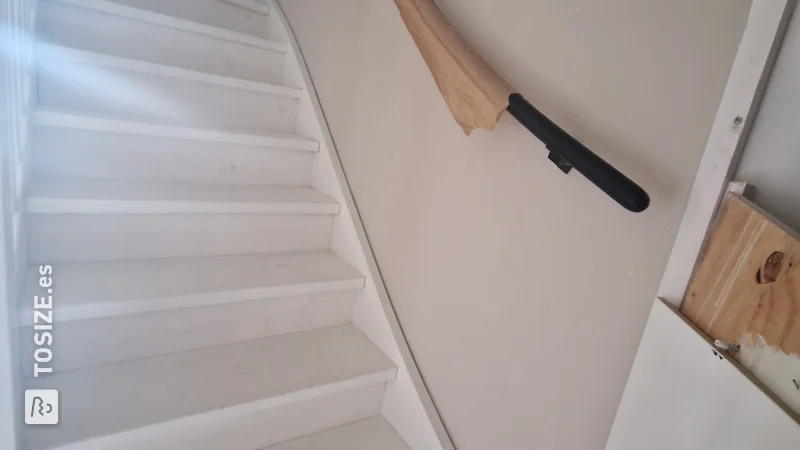
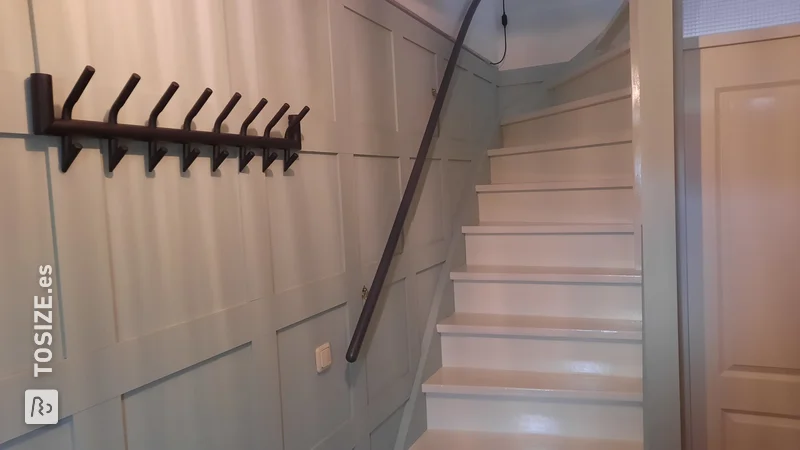
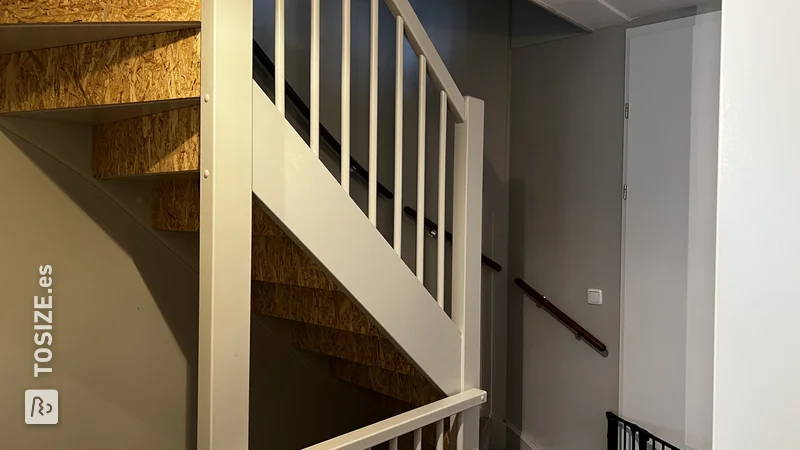
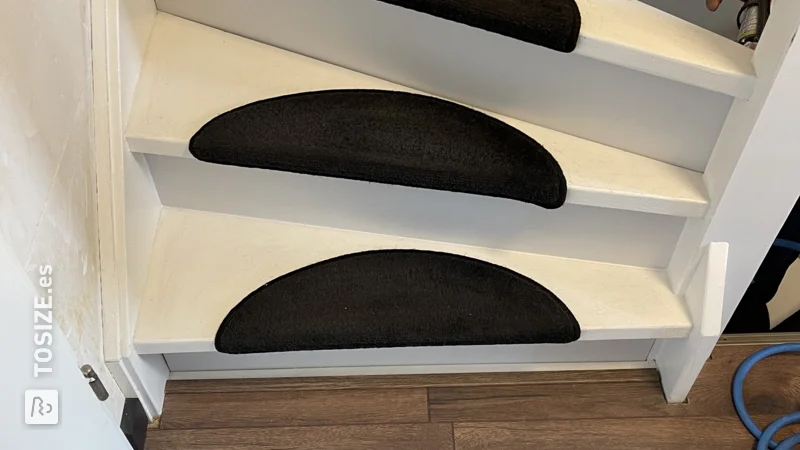
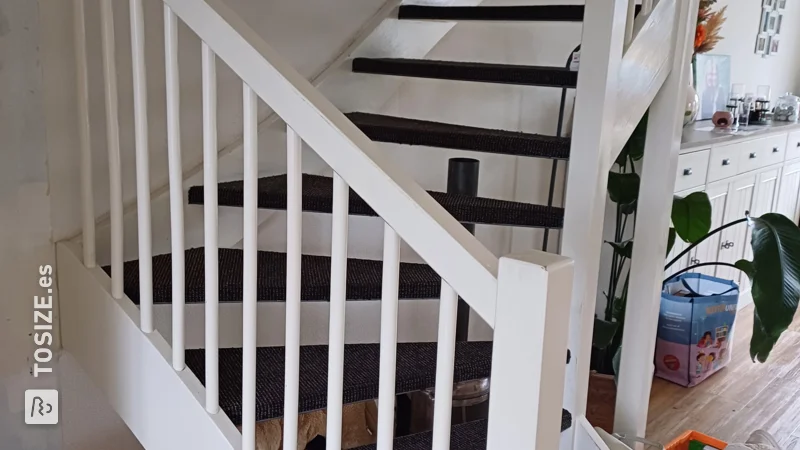
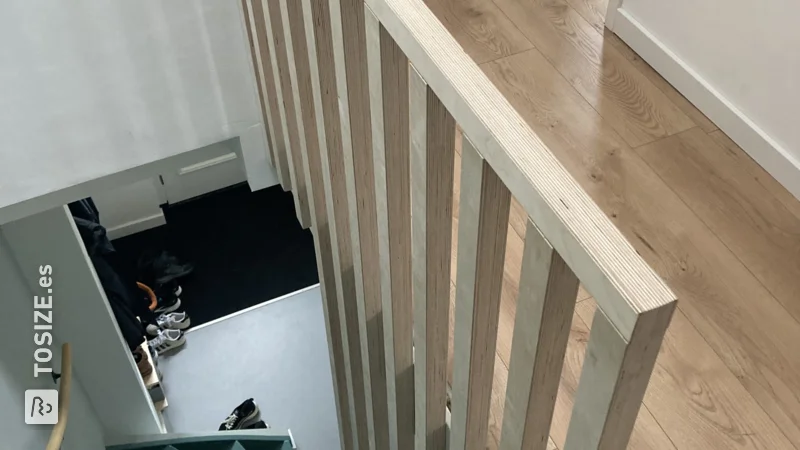
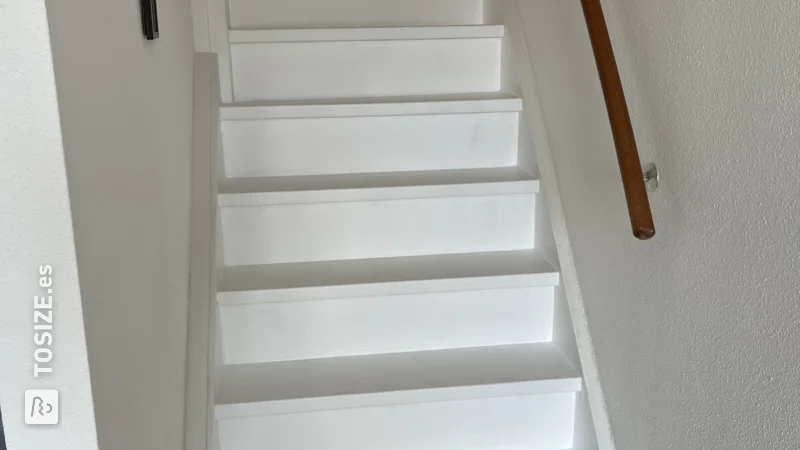
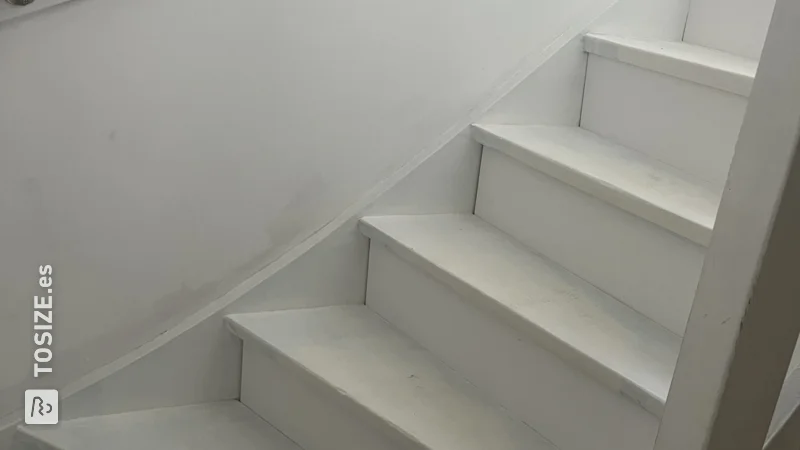
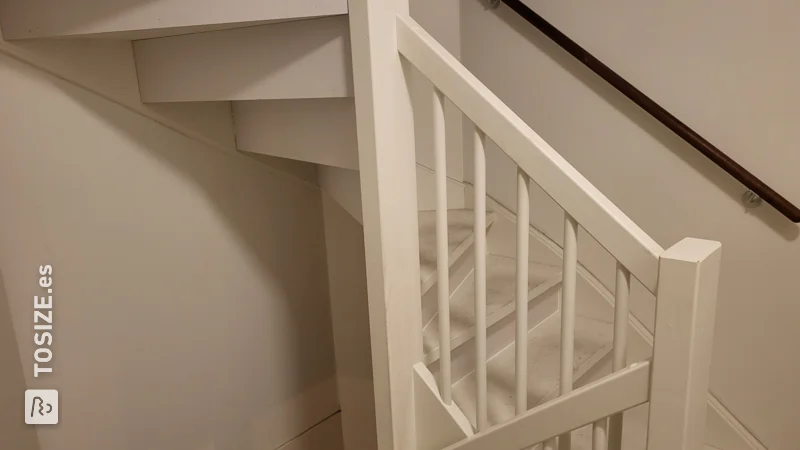
Want to give an open staircase a new look while improving safety? That's exactly what Alex did with his stair renovation project. By installing risers, he gave his hallway a fresh and sleek look.
Step by Step to a Closed Staircase
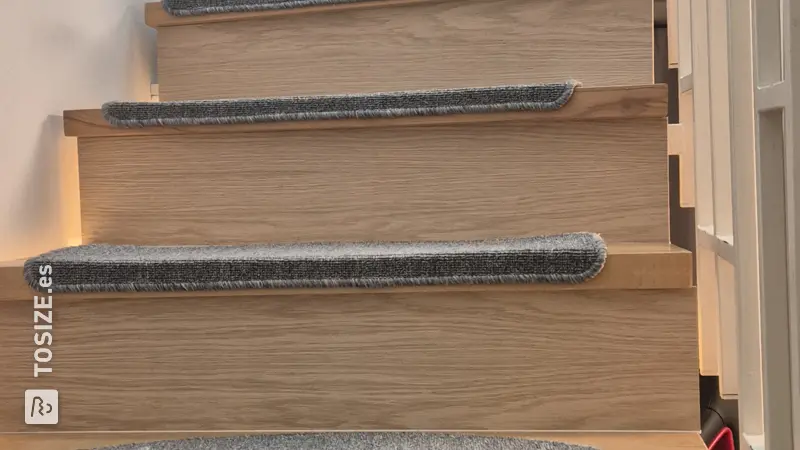
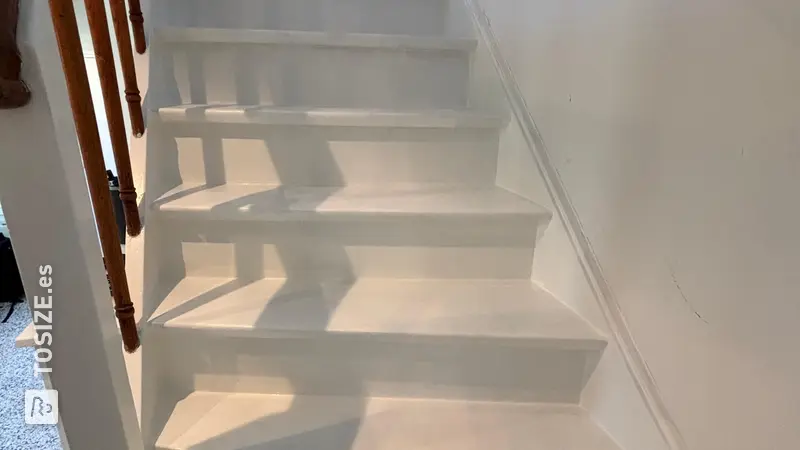
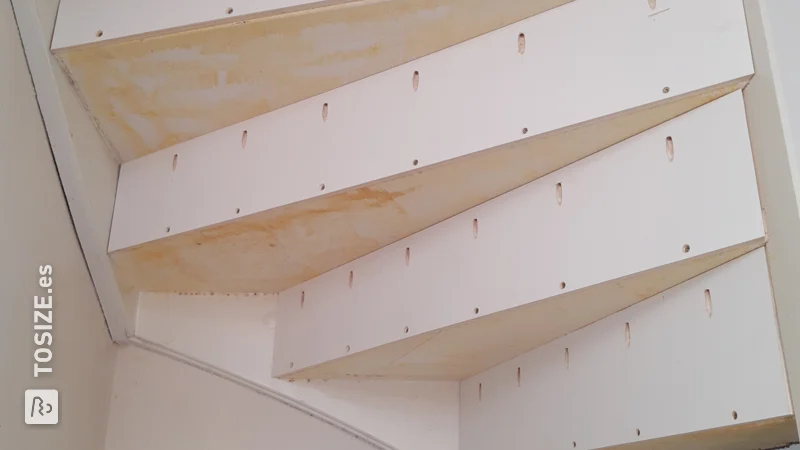
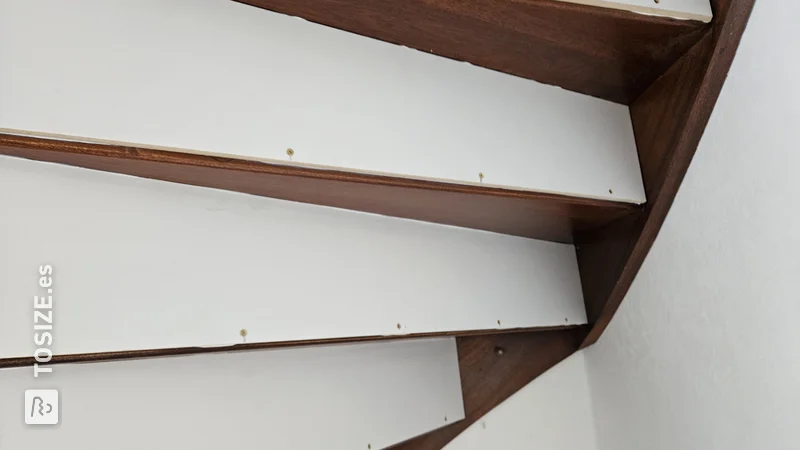
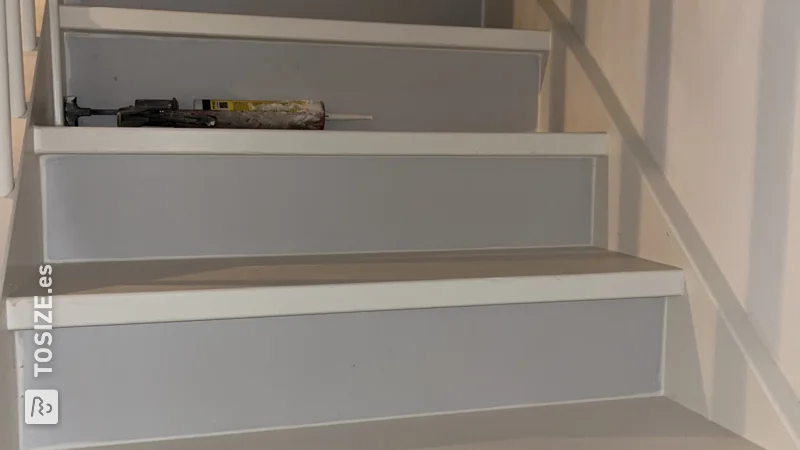
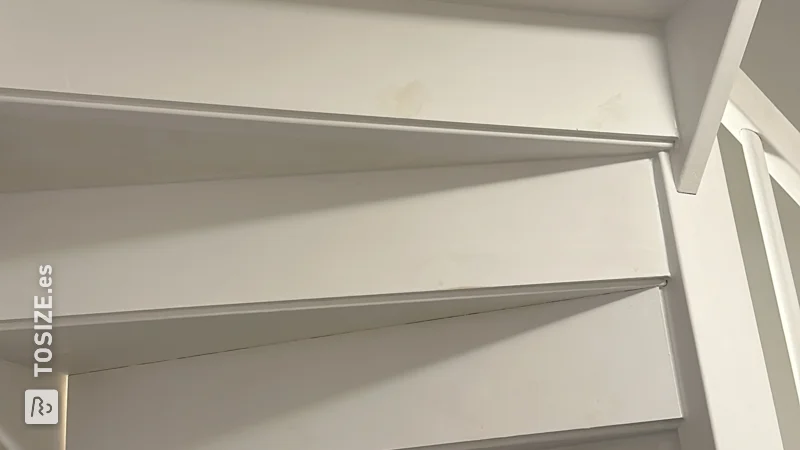
The most important part of this project was installing risers between the steps of the open staircase. The chosen materials are Plywood Interior Poplar Primed, ideal for a smooth and paintable surface. The light color creates an airy atmosphere, perfectly suited to the interior.
The Location
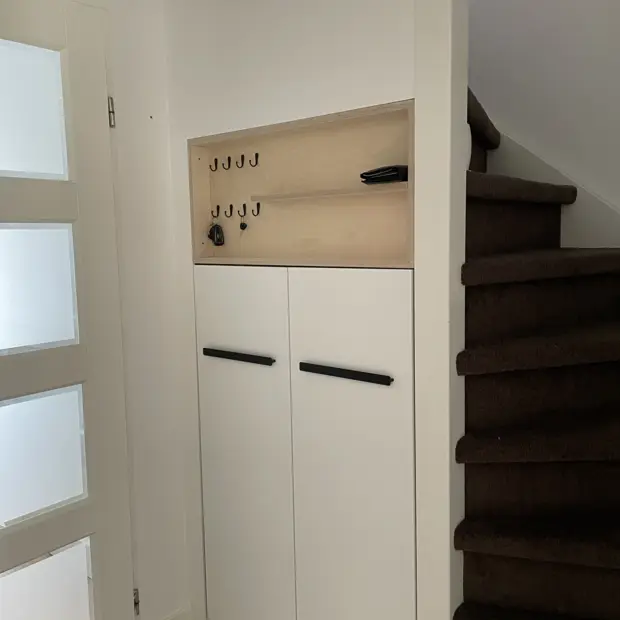
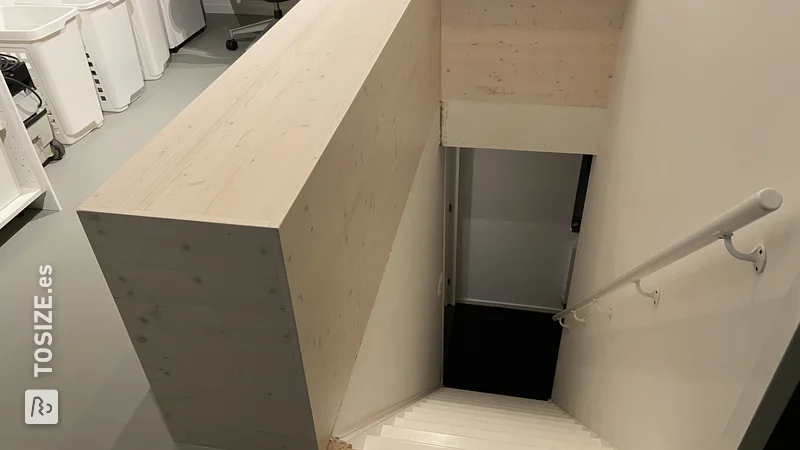
The staircase is located in the entrance of the house, making it immediately noticeable upon entering. The closed design works beautifully here, contributing to the uncluttered and intimate atmosphere of the space.
Unique Features
Alex opted for custom-cut risers from TOSIZE.es , which ensured a perfect fit without any hassle. This allowed him to focus entirely on the finishing touches and the end result.
Benefits of Making Your Own
Renovating your stairs yourself offers numerous advantages, such as complete freedom in sizing and material choices. It's also often cost-effective, allowing you to stay within budget while still delivering high-quality results.
A Timeless Elegant Atmosphere
The choice for a light and clean look creates a timeless look. It not only creates an aesthetically pleasing whole but also a safer and more inviting home.
Why Choose Plywood Interior Poplar Primed?
With plywood, you integrate not only functionality but also style. This wood is lightweight, budget-friendly, and easy to paint. It's the perfect choice for a sleek and modern look.
DIY Tips from the Expert
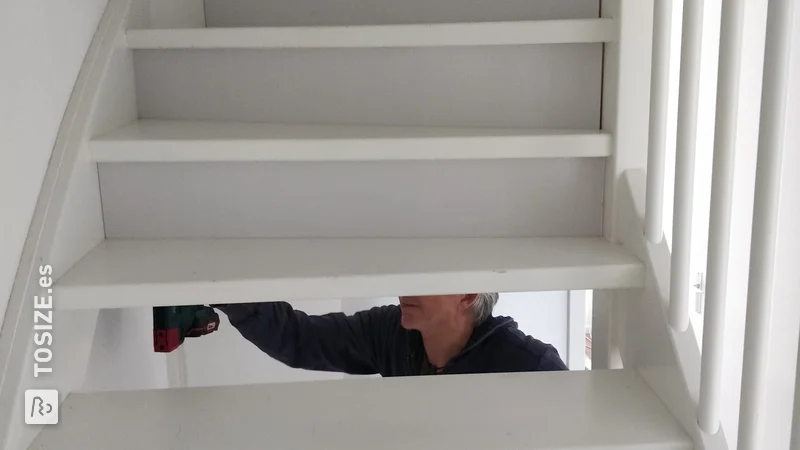
Make sure you use the correct screws and pre-drill everything thoroughly to prevent splinters. Take your time to ensure an evenly painted surface for a perfect finish.
A staircase renovation project like this will make your entrance look like new again and prove that with a little skill and the right materials, anything is possible!
Tip! Also check out our handy DIY tips!
Step by step guide
Preparation
- I sanded the stairs beforehand and then measured and numbered all the steps. I also purchased 4x40 screws and two cans of stair renovation adhesive.
Montage
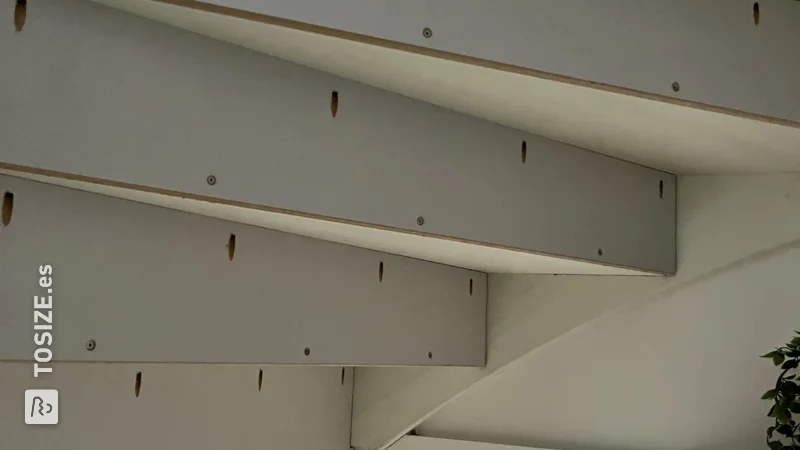
- The planks were fitted, and then a screw hole was countersunk every 15-18 cm and the screws were driven in. Then the glue was applied, the plank was positioned, and secured. It was very easy.
Finish
- Glue the seams and fill the screw holes. Lightly sand and seal.
What now?
Want to make this DIY project? Check out Alex's saw list and complete your order easily.
168,67 €
All materials used
View all sheet materials
My experience with TOSIZE.es
Order
Delivery
General experience