- TOSIZE.es
- Do it yourself
- DIY Projects
Design and build custom cabinet from MDF, by Suzanne Bouhuijzen
Design and build custom cabinet from MDF, by Suzanne Bouhuijzen
Make this furniture yourself using TOSIZE.es
Suzanne
Easy
5 minutes
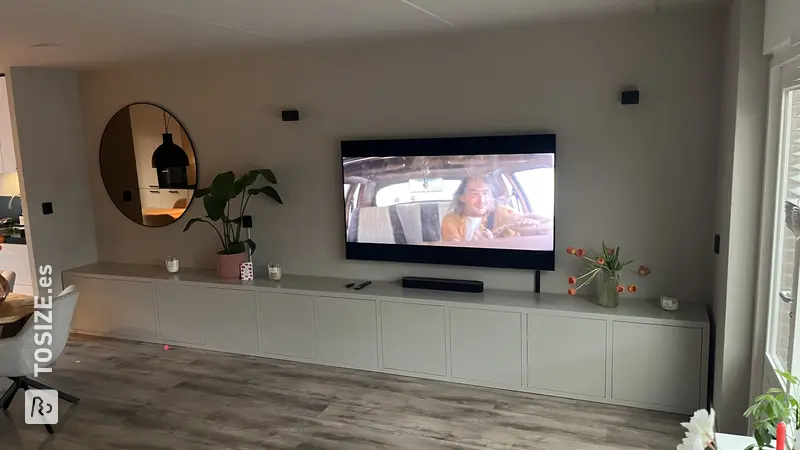
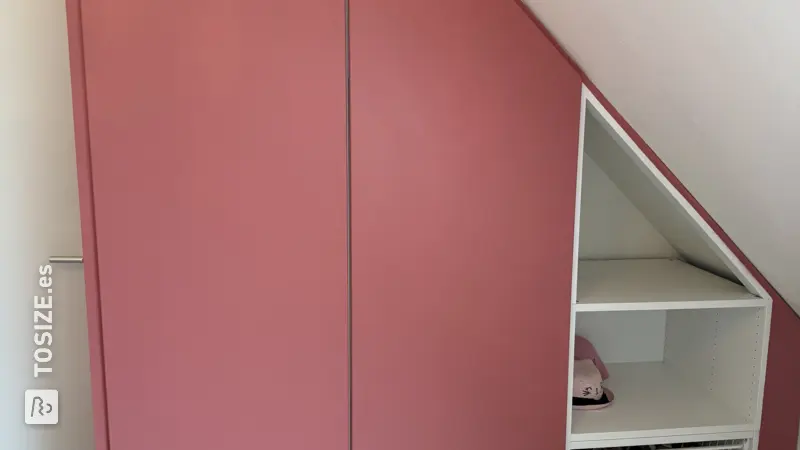
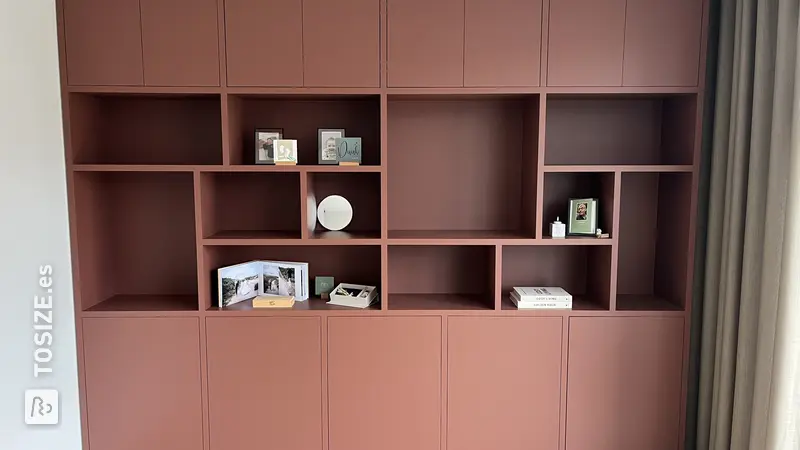
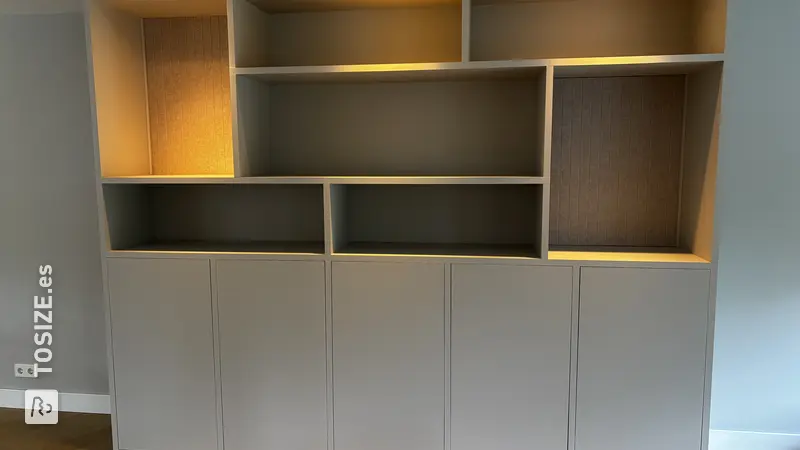
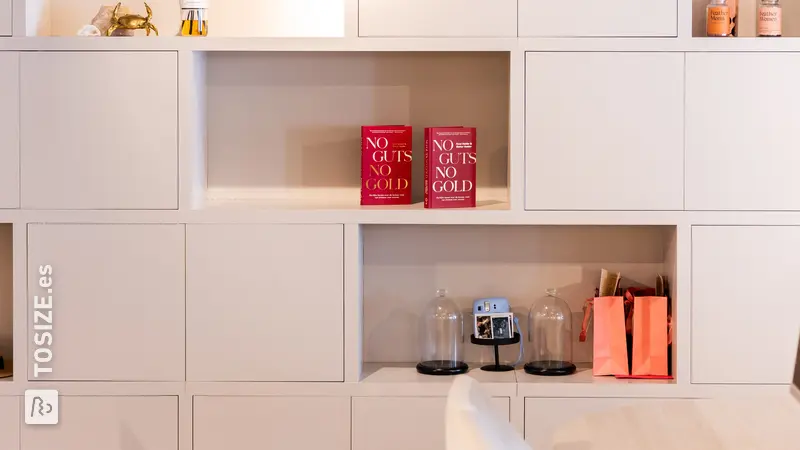
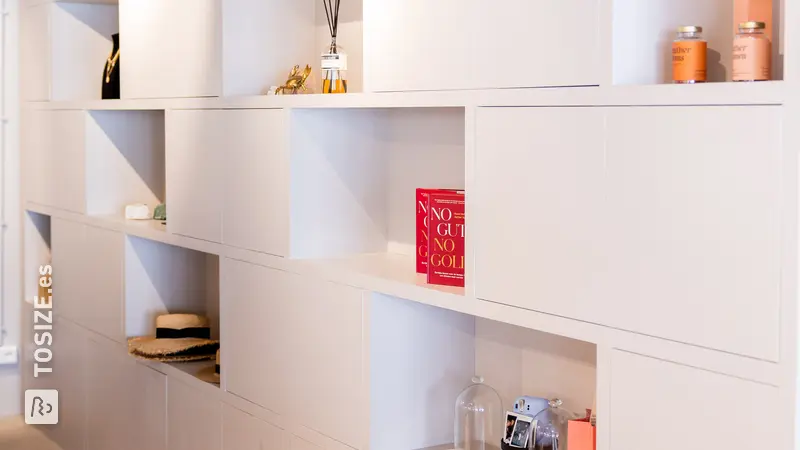
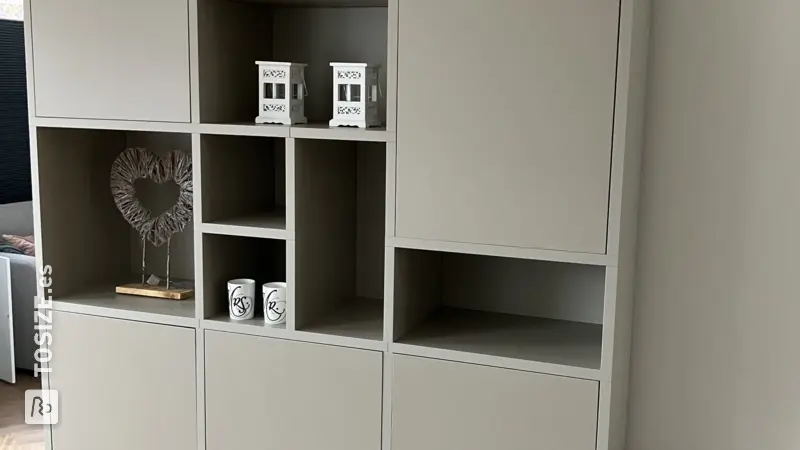
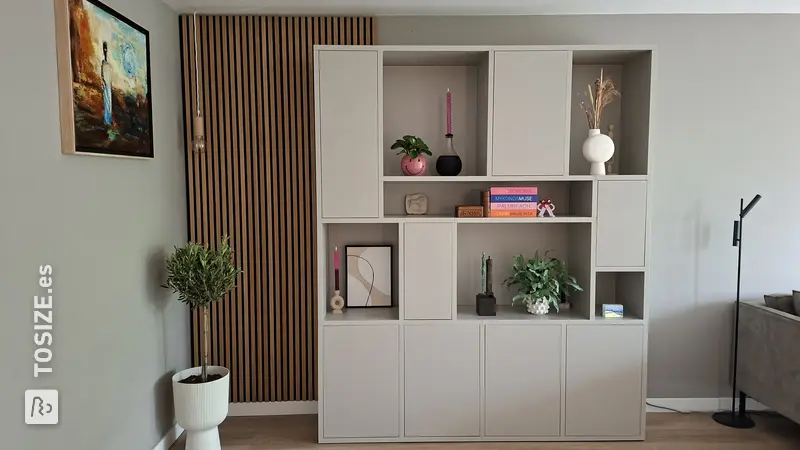
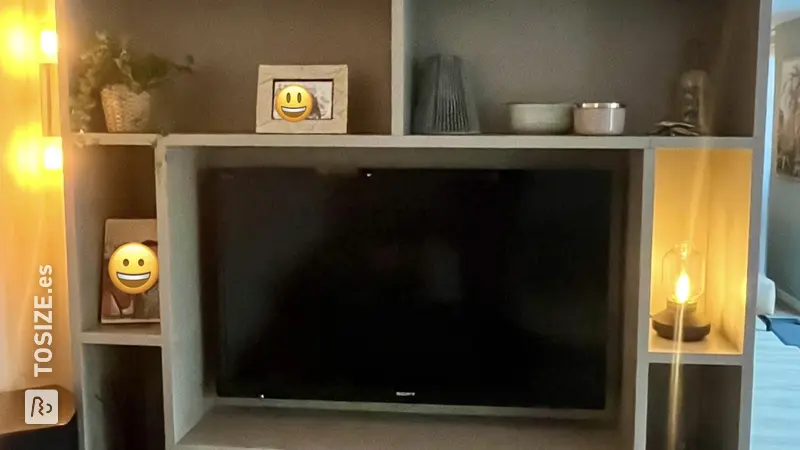
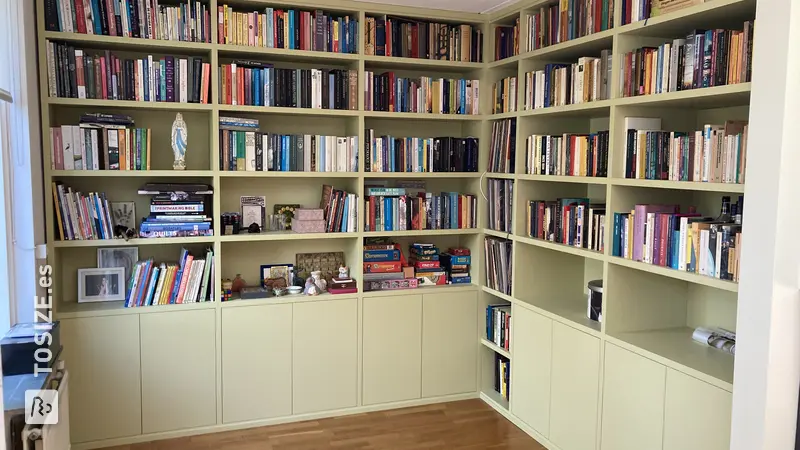
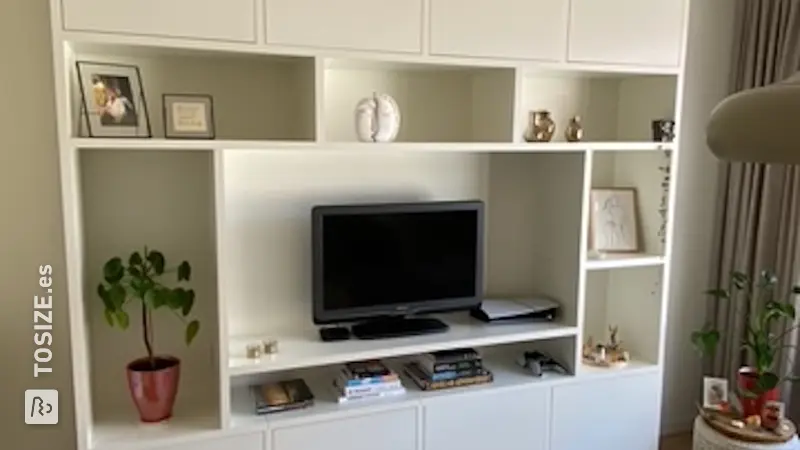
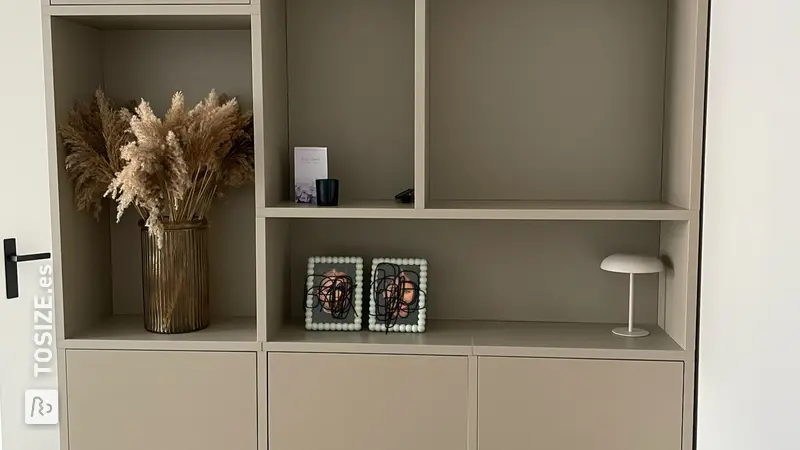
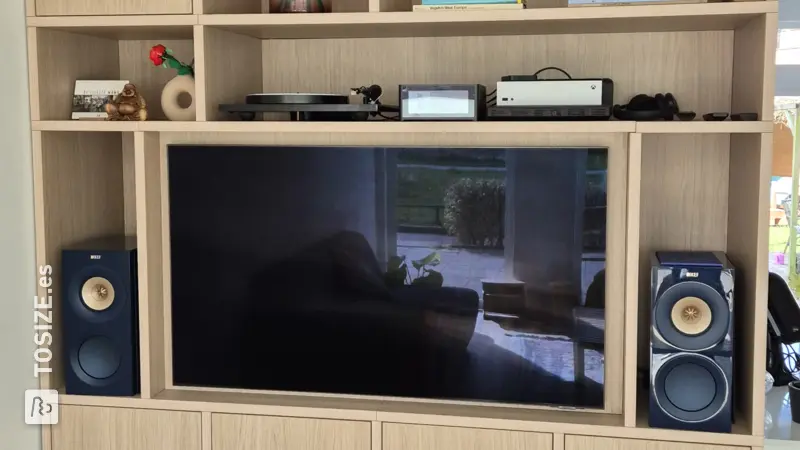
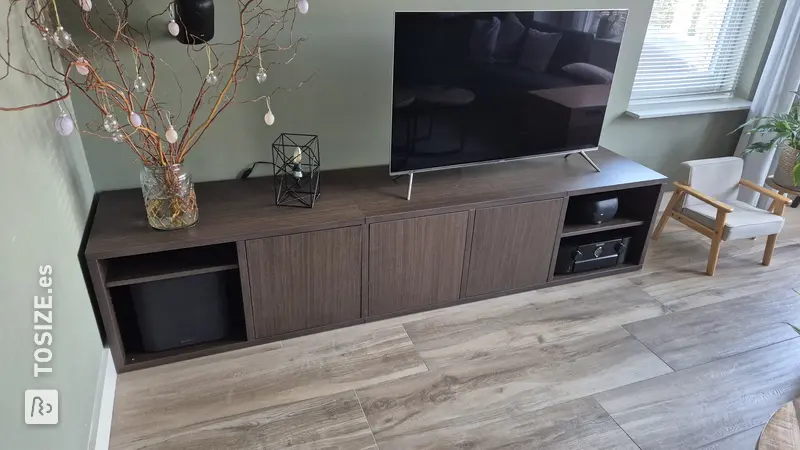
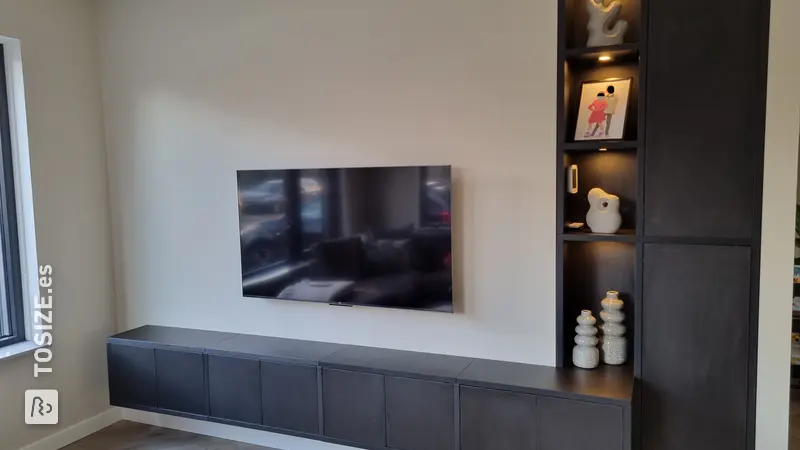
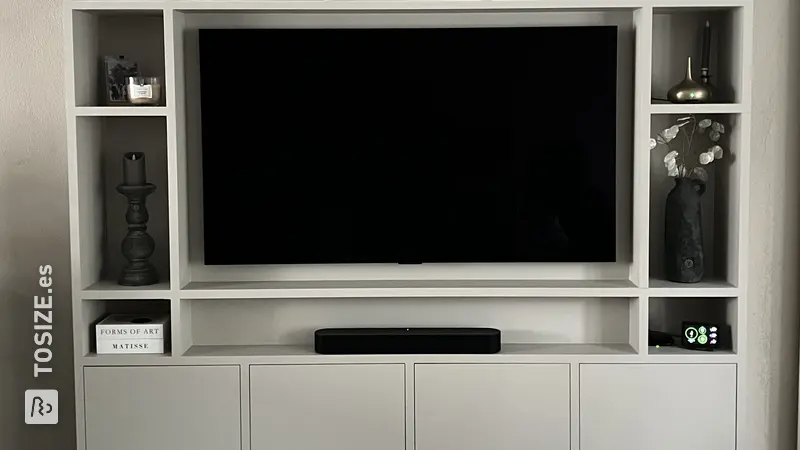
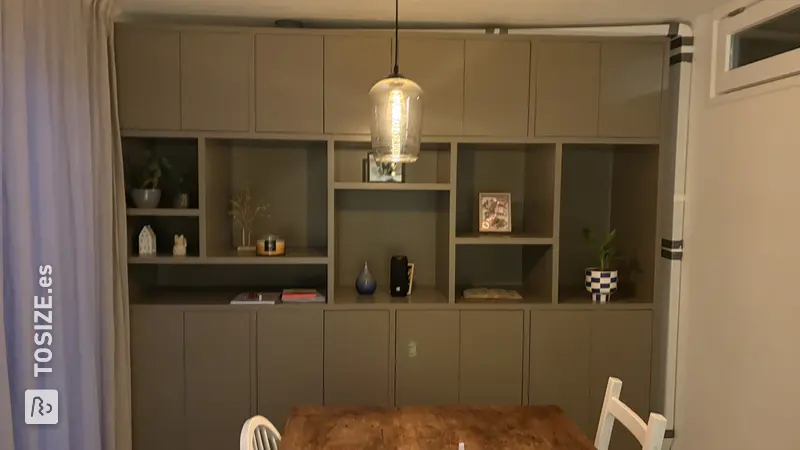
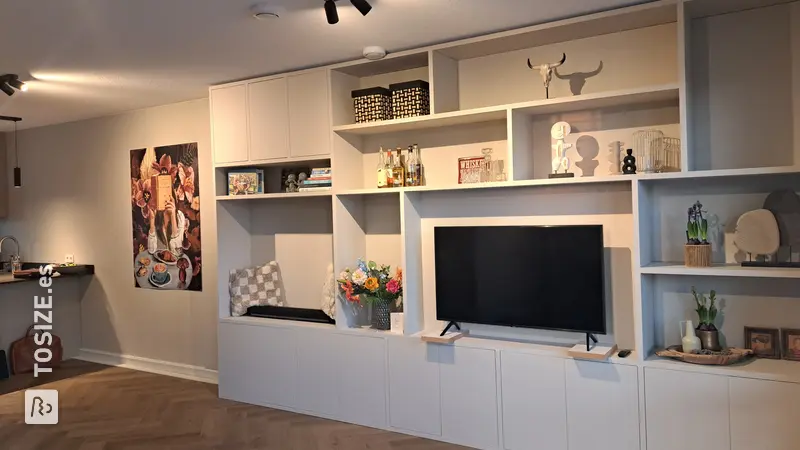
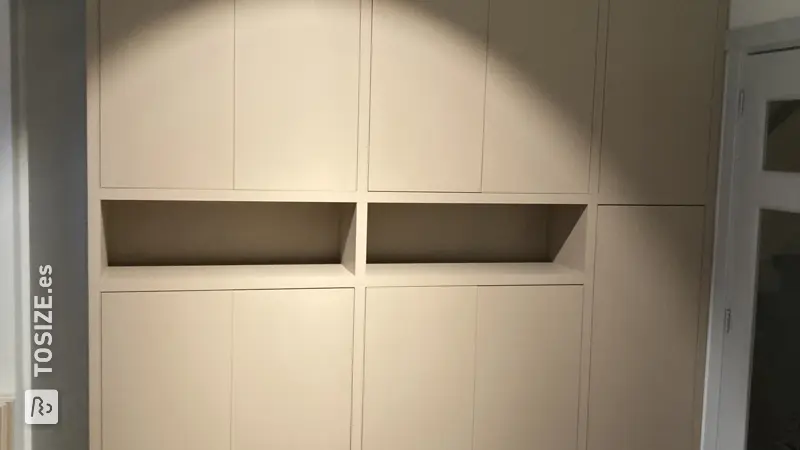
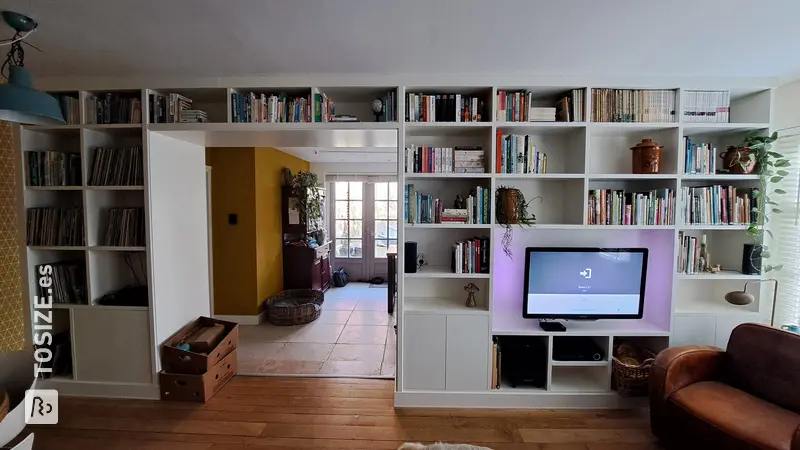
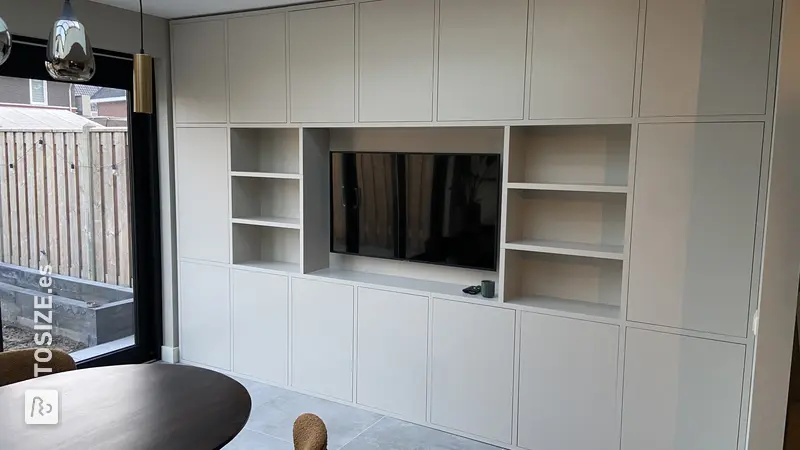
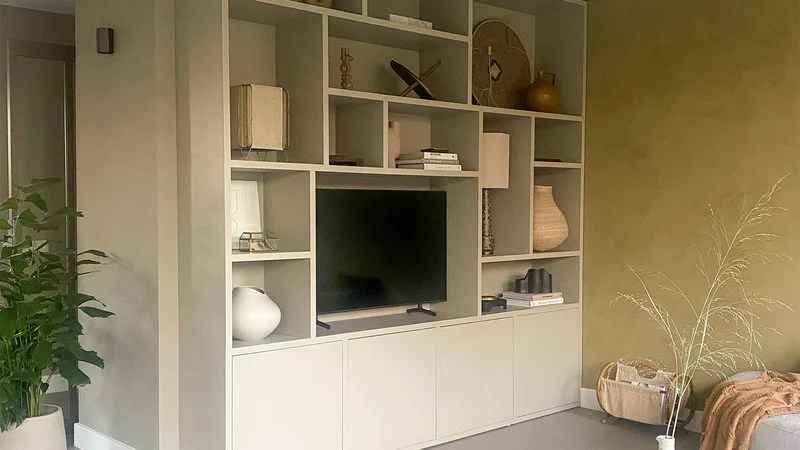
Customizing a unique wall cabinet with TV niche has never been easier. Suzanne, from BOU Living, shares her experience creating her design model TSFC008, the assembly and painting of her unique cupboard. The result is a beautiful eye-catcher for her living room with room for beautiful accessories.
Description by Suzanne
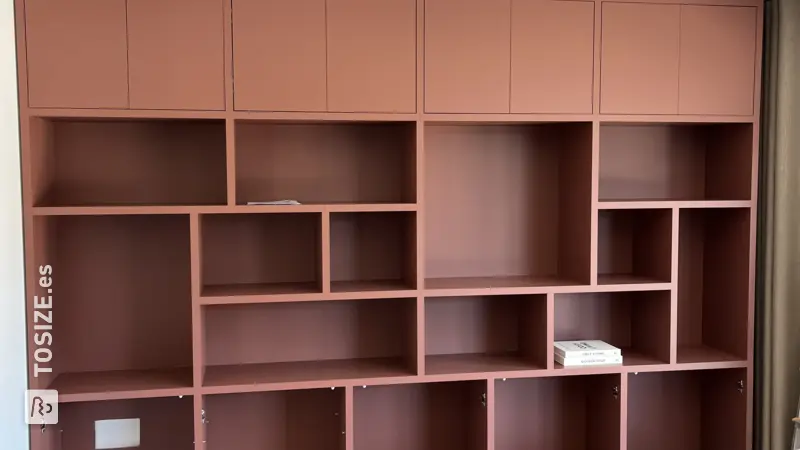
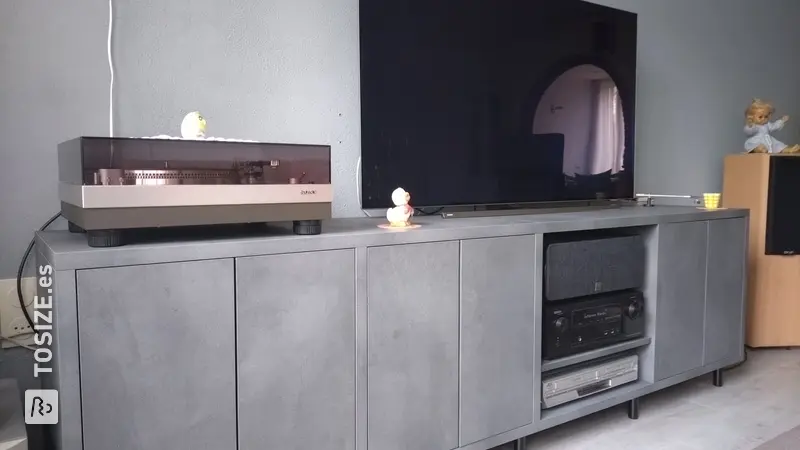
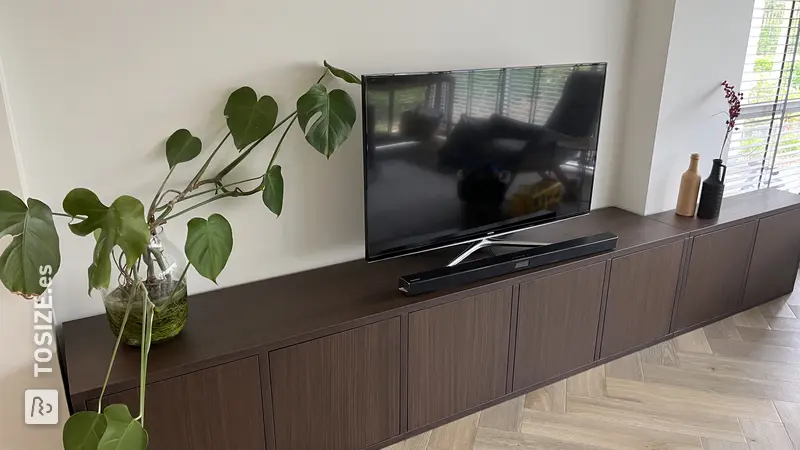
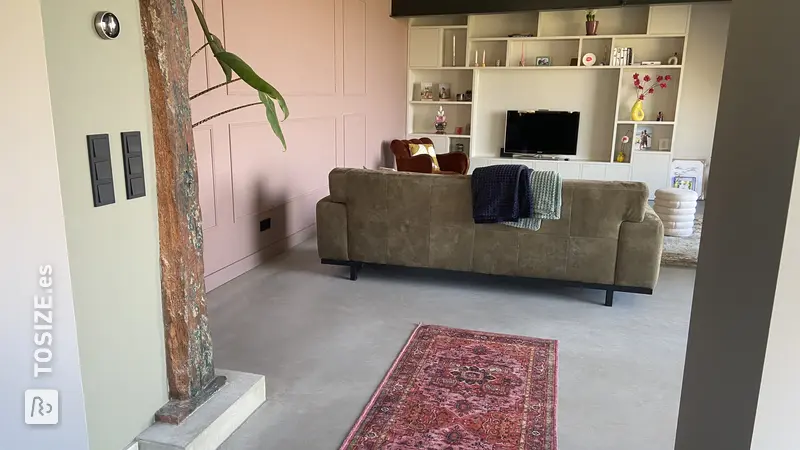
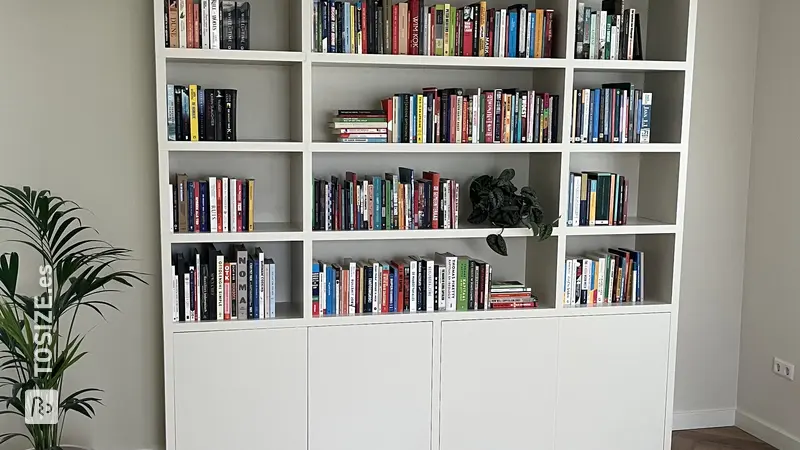
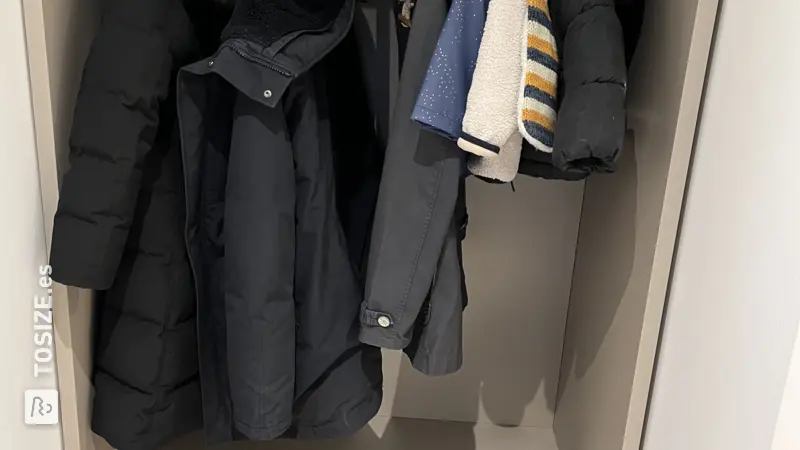
For our living room we were looking for a sideboard or wall cabinet in which the TV fits nicely and where I can at the same time style beautiful accessories and store the children's toys invisibly . In the 'standard cabinet collections' we were unable to find a piece of furniture in which we could realize all our wishes. We also preferred furniture that would be more part of our interior. A beautiful piece of furniture that fills the wall would radiate tranquility and in terms of style and color we could match it perfectly with our interior. We had previously made our own cabinets with wood from TOSIZE.es and when I heard that they were coming up with a new concept for custom cabinets, I was in love!
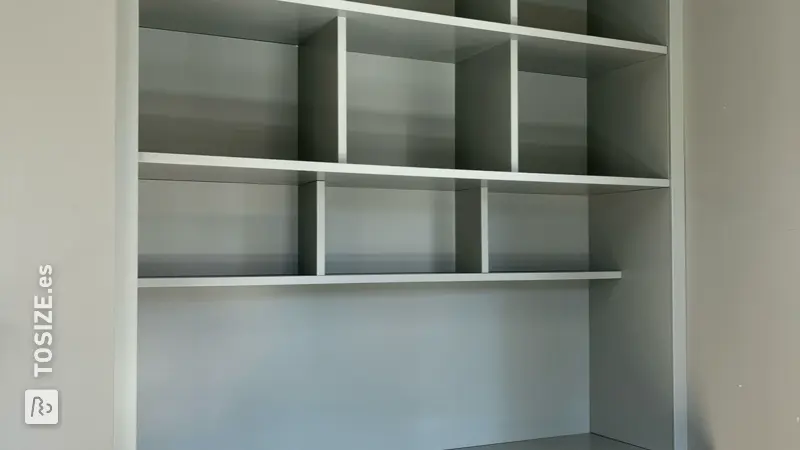
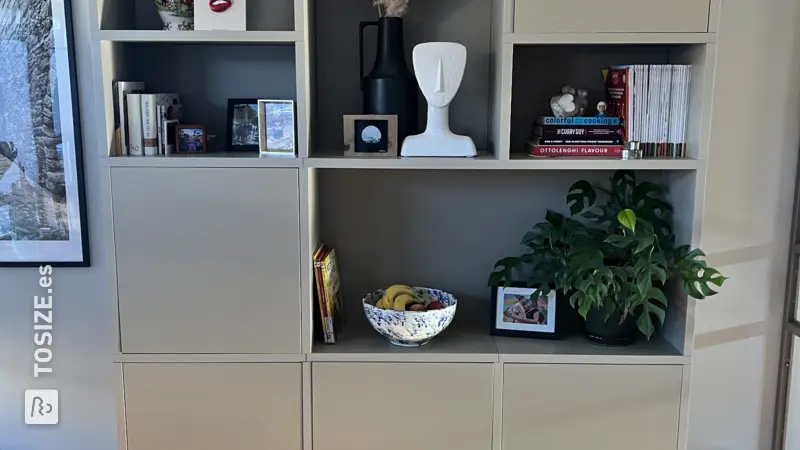
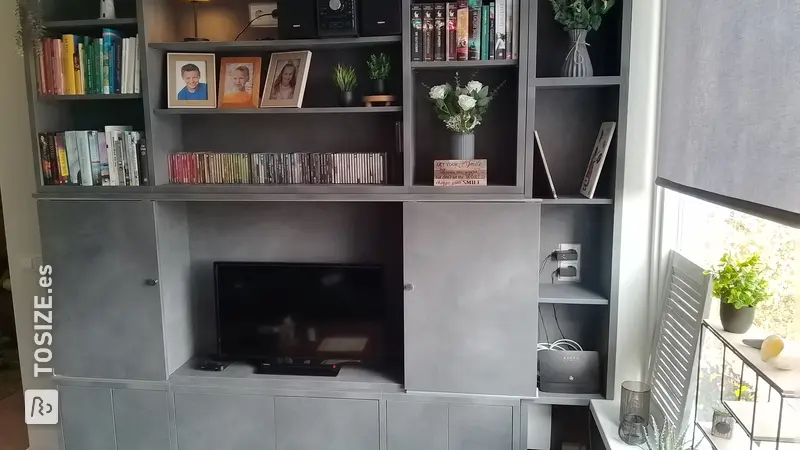
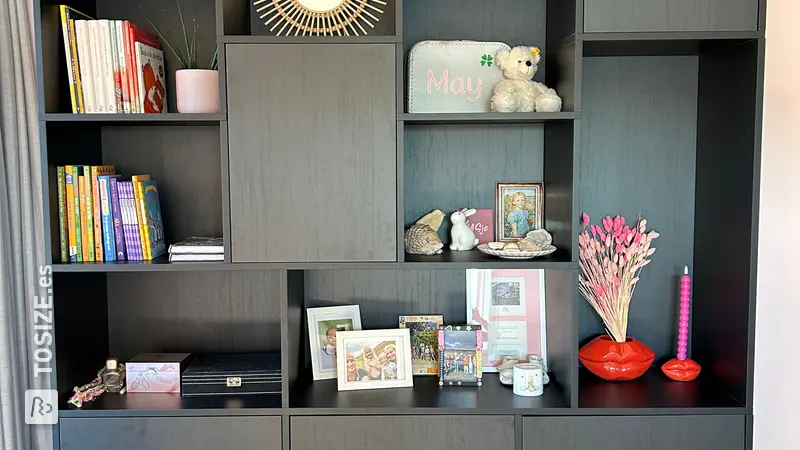
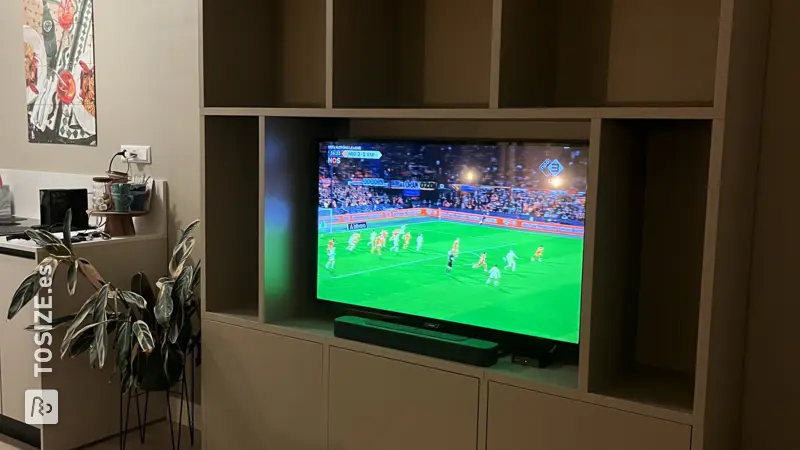
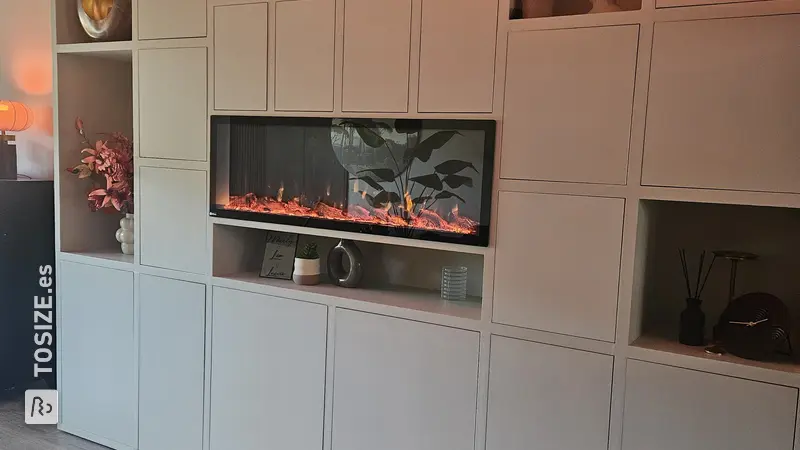
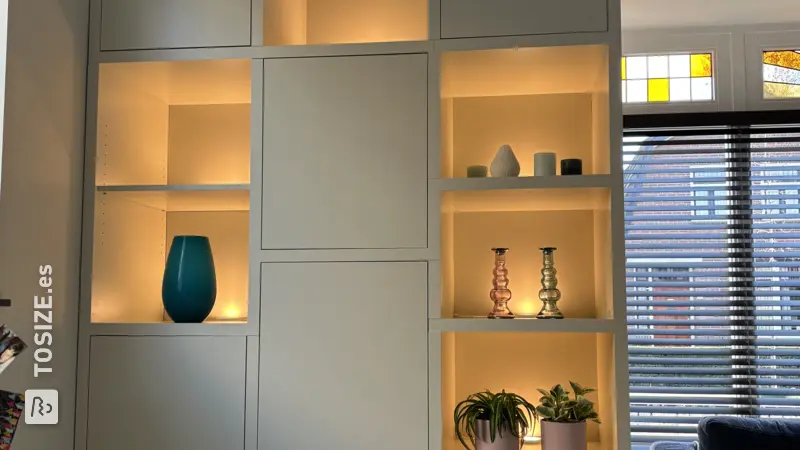
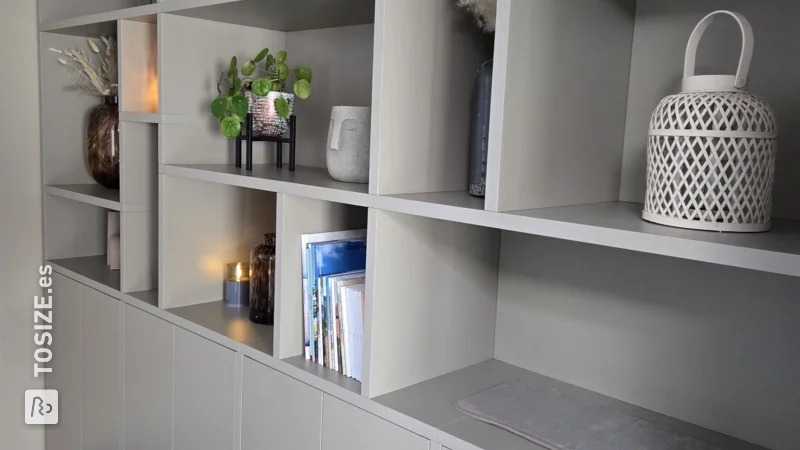
On their website you can get inspiration and In the configurator you can work on your own design. I first started making old-fashioned sketches with pen and paper to create a nice division and later converted this digitally into a design. In order to make the layout, it is important that you know in advance which items you want to place. This way you can give boxes the correct height and width. Besides the fact that I wanted to style interior decoration in open compartments, I had already decided to make the bottom row with doors for all the children's toys. I also took into account where the socket was located, which compartment the TV should be in, this was the largest size compartment, and where the lamp. This way we were prepared to make the holes for all the cables and connections during the construction process.
After my design was ready, TOSIZE.es made a final working drawing and checked whether all section sizes were feasible. This worked very nicely and clearly! After our final approval, the cabinet was put into production and we received all materials as a compact construction kit at our home within a short period of time! They now have a 3D configurator online, which means that manual working drawings no longer have to be made.
How I made this project
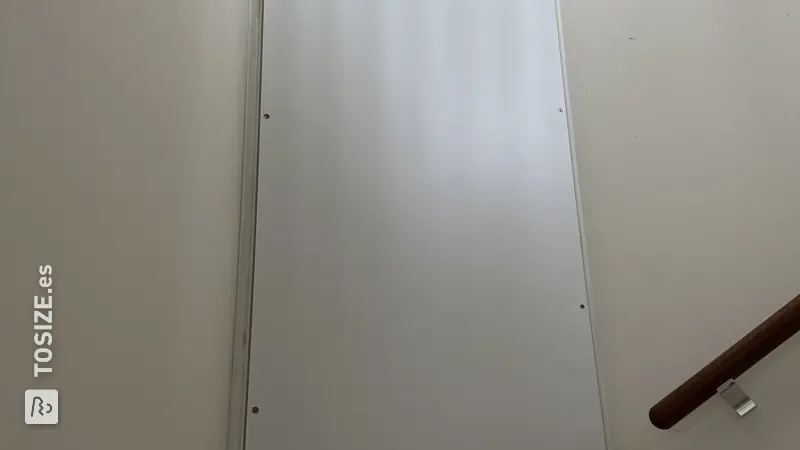
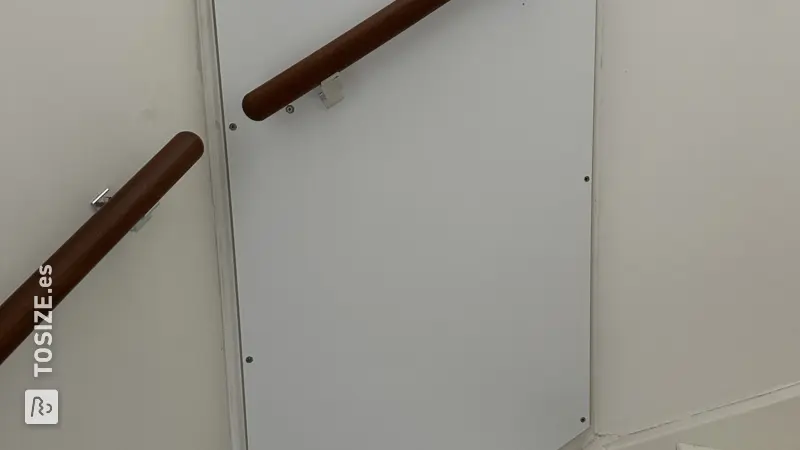
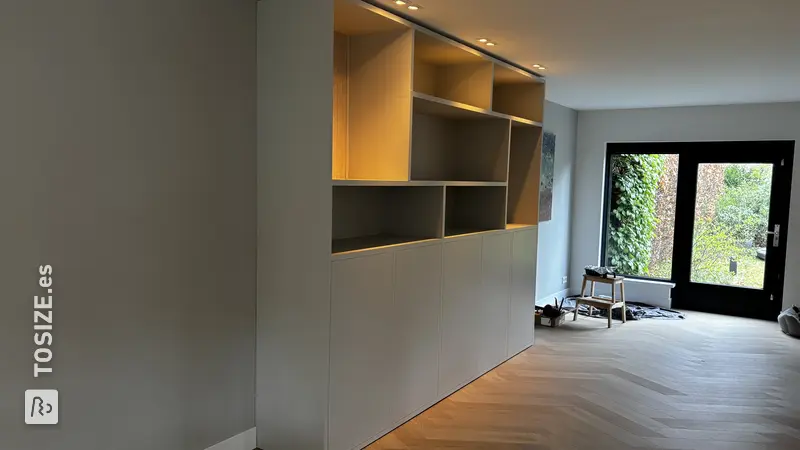
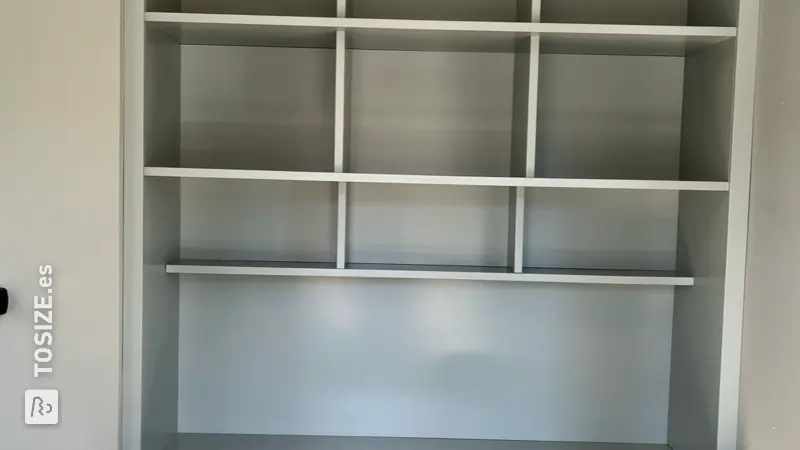
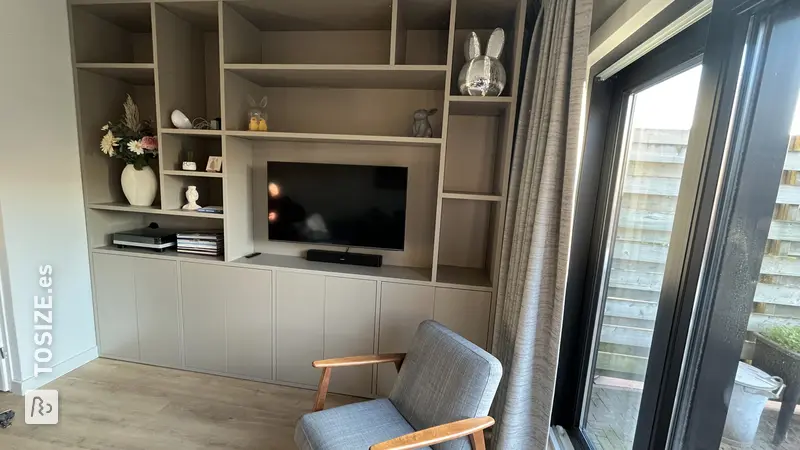
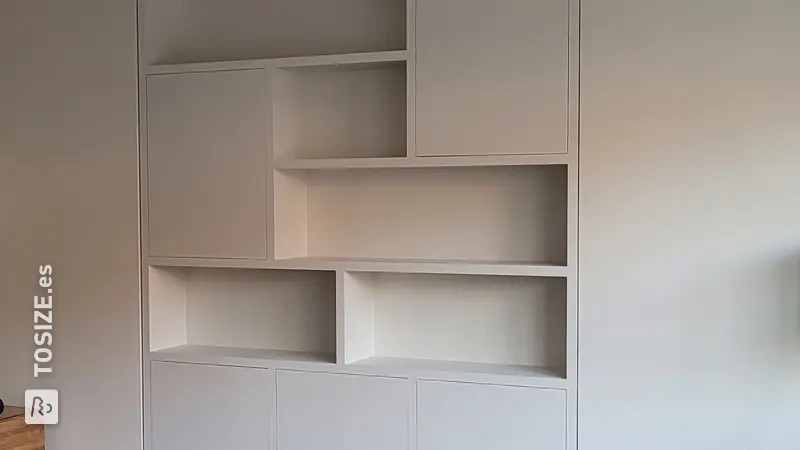
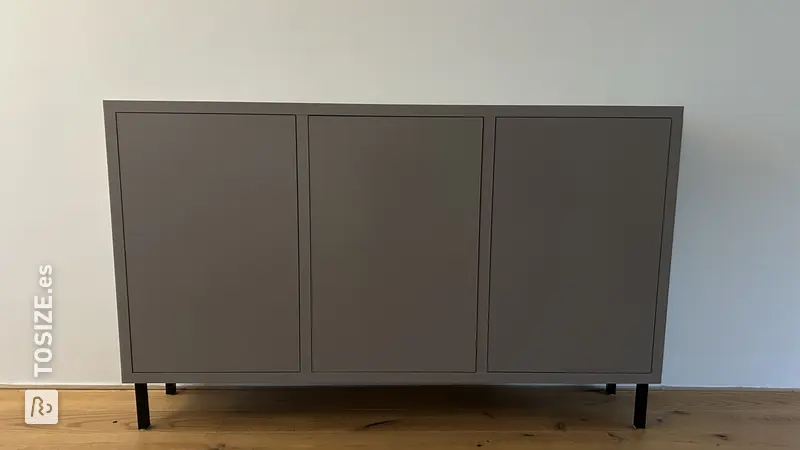
Now it was up to me and my husband Douwe to create our build a cupboard. The kit really looks like a gift. All individual parts are numbered and we first sorted them and put them in order. You will also receive all necessary materials such as dowels and screws. So you can get started right away! We hung the working drawing on the wall and started building. I can almost say it was “a piece of cake”! In principle, building is self-explanatory, if you follow the drawing carefully, you actually work neatly from section to section. We only had a bit of a challenge with the height, because I really wanted a cupboard almost to the ceiling. At work this is not always easy to work above your strength and ensure that the top planks fit together properly. But with some patience and precision, this was possible! In addition, the bottom cupboard layer stands on adjustable feet, so it is very useful to adjust the cupboard to the correct height.
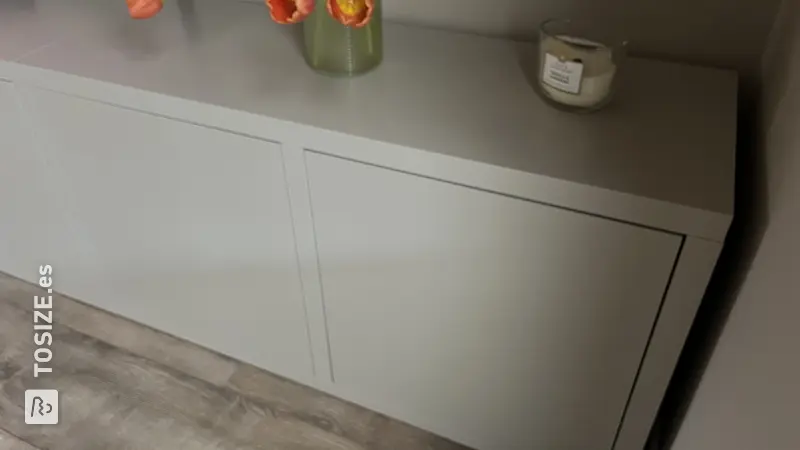
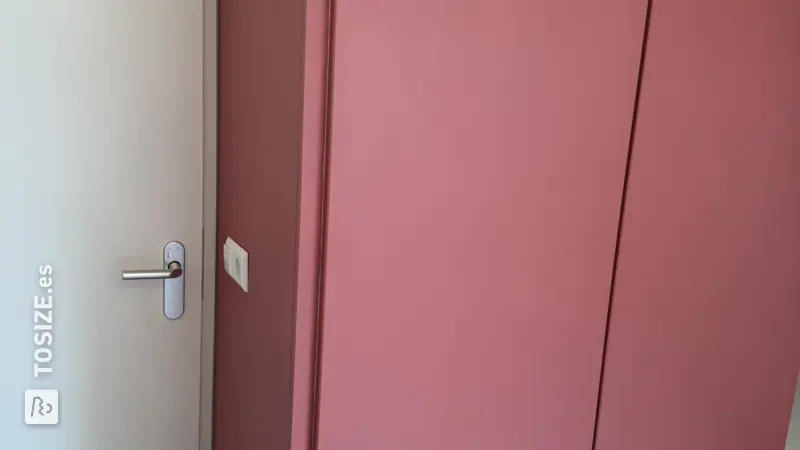
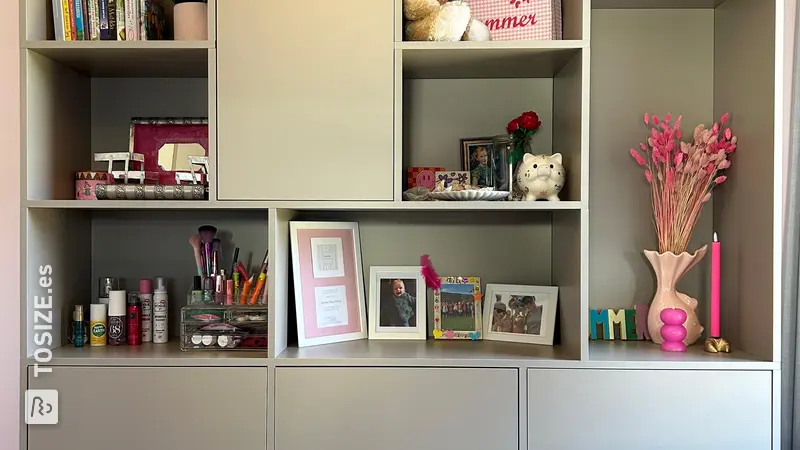
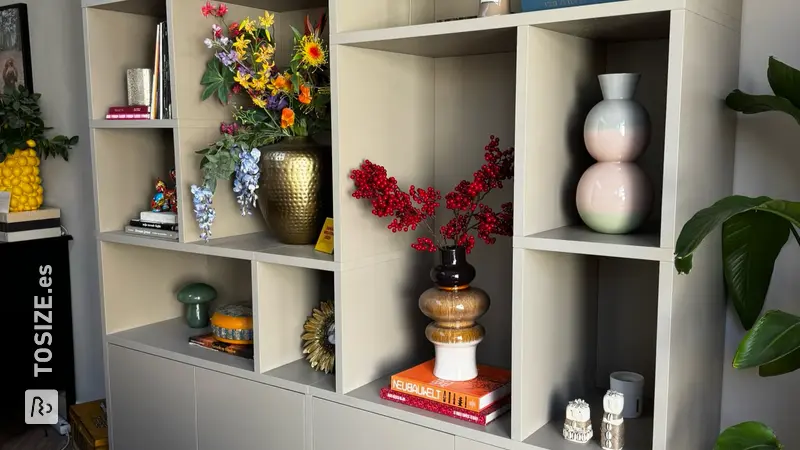
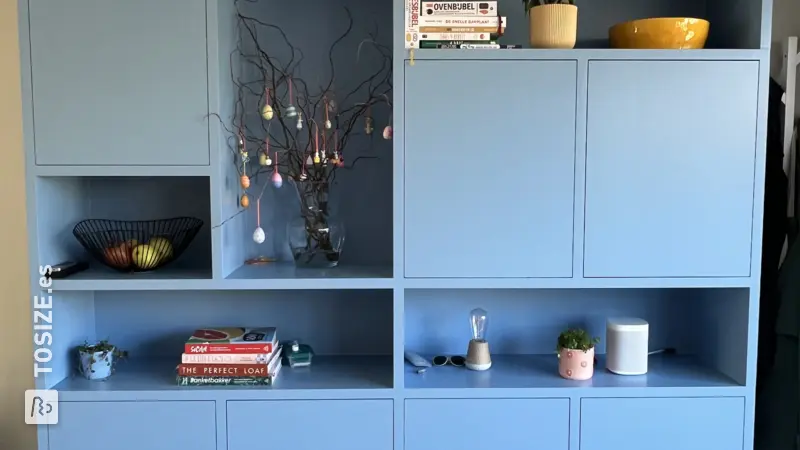
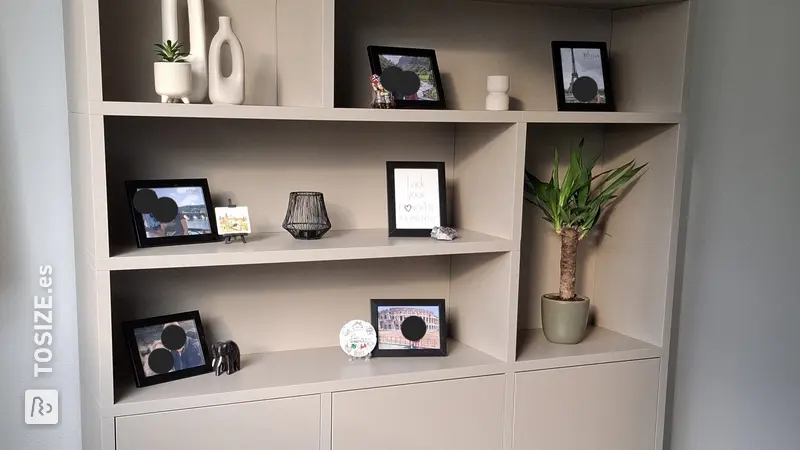
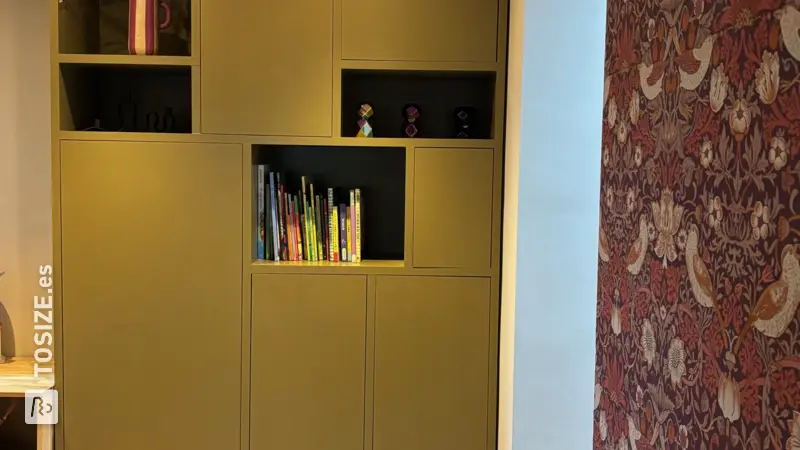
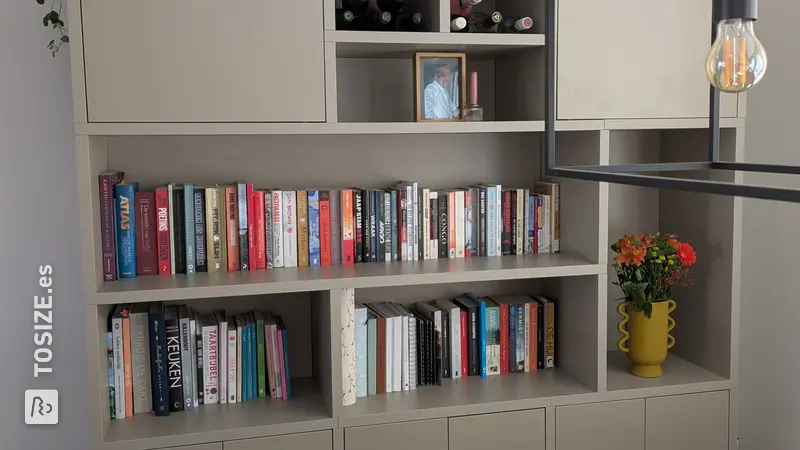
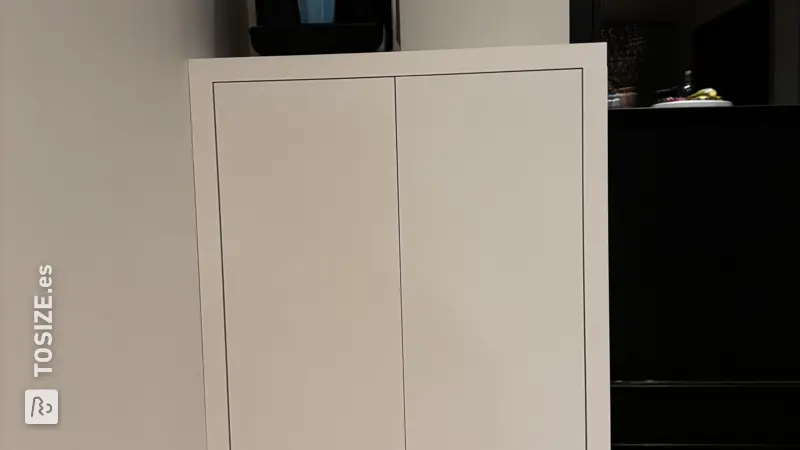
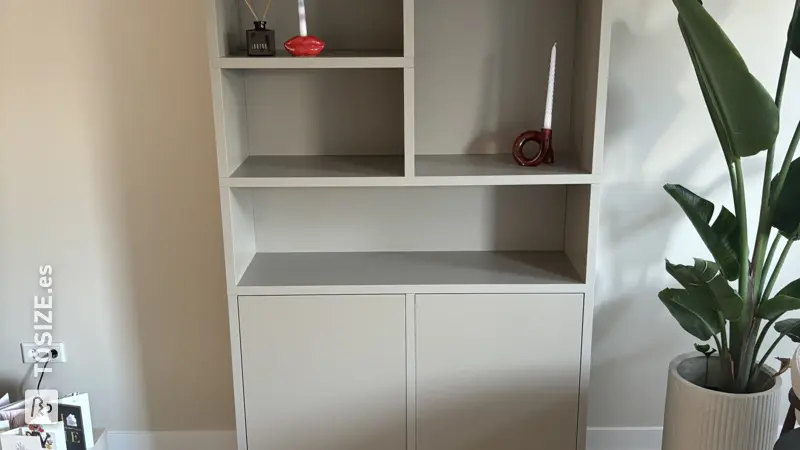
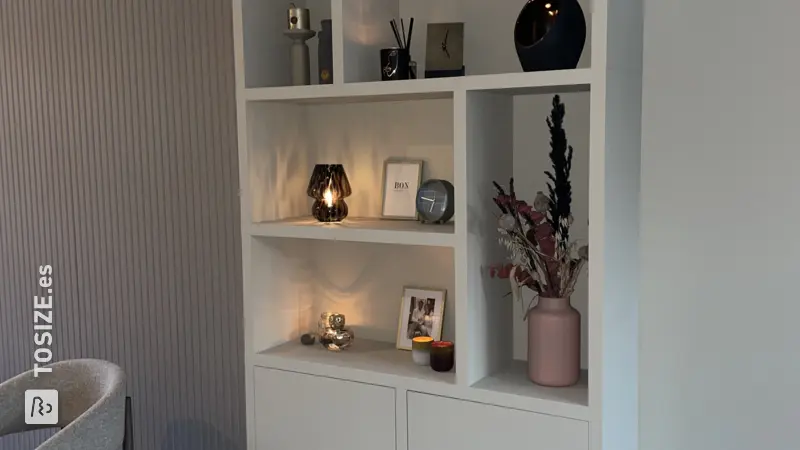
After building the cabinet, it is time for the finishing touches. We have paid a lot of attention to this and it takes quite a bit of time if you really want to do this beautifully and well. We sanded the furniture and then applied several layers of primer. Then the seams and connections were nicely filled. We used a beautiful sustainable water-based wood paint from Vestingh for the cabinet. I chose the color Brown Wood no. 222, a beautiful soft warm sand shade with a matte finish. This paint does not yellow and is wear and scratch resistant.
You can also choose to finish it with a transparent coating for extra protection. The finish will then just shine a little more.
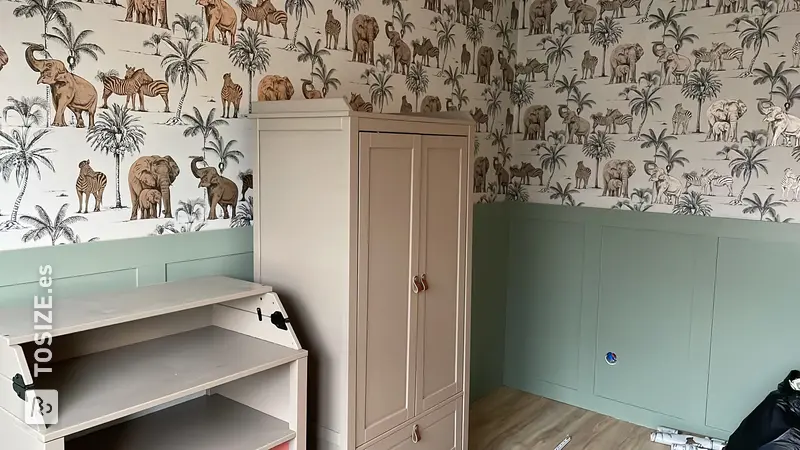
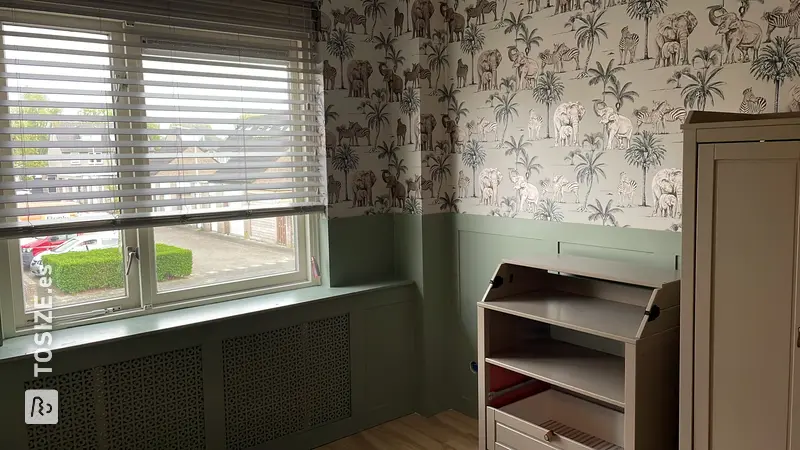
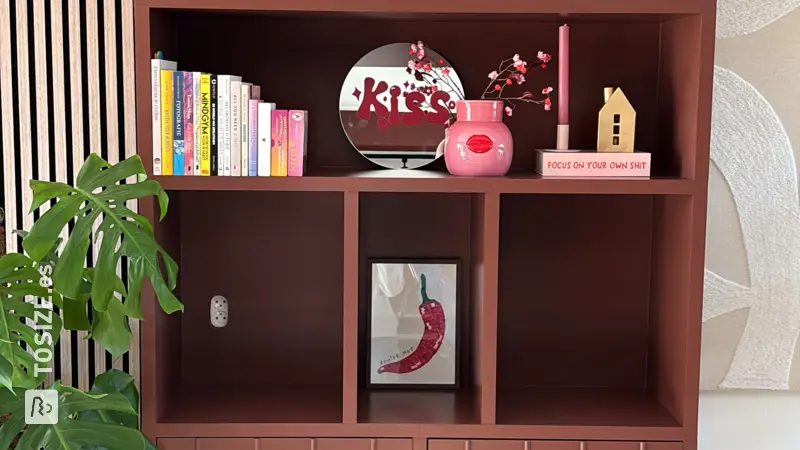
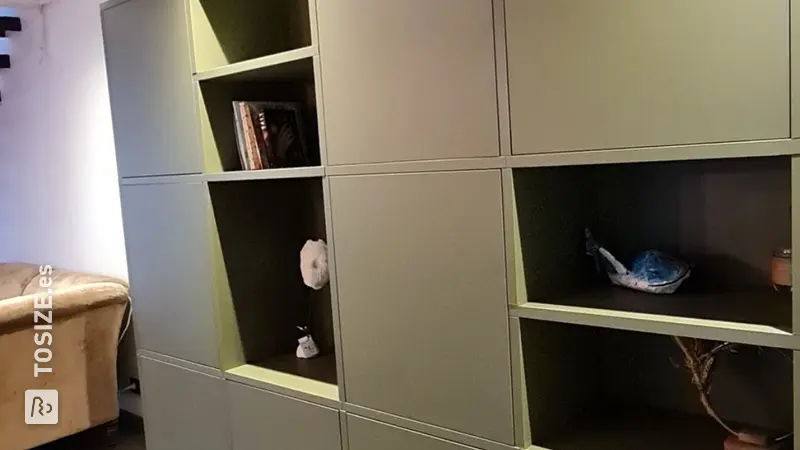
I still had beautiful French wallpaper left from our bedroom, which I also wanted to use in the closet. I did not stick this directly on the back wall of the cupboard, but on sturdy cardboard and placed it in a compartment. This way I am flexible in terms of styling and look in the closet and I can have it appear in multiple places if desired. You can also choose to put the wallpaper in a frame and place it nicely in the cupboard. When it comes to the finish of the cabinet and styling, you can unleash your creativity!
Dimensions of my DIY project
260.0 × 256.0 × 40.0 cm
260.0 × 256.0 × 40.0 cm
Tip! Also check out our handy DIY tips!
What now?
Do you want to create this DIY project? This piece of furniture is part of our TOSIZE Furniture collection. Design your personalized, custom-made furniture using our 3D configurator! Want more information? Learn more about available colors, assembly, or browse all frequently asked questions. You’ll receive a TOSIZE Furniture package, including an installation kit.
2098,00 €
All materials used
View all furniture
085 888 29 55