- TOSIZE.es
- Do it yourself
- DIY Projects
Make your own cupboard from plywood interior poplar, by handyman expert Ivonne
Make your own cupboard from plywood interior poplar, by handyman expert Ivonne
Create this project yourself with sheet material cut to size by TOSIZE.es!
Ivonne
Average
4 minutes
Do-it-yourself: Make your own cupboard from Multiplex Interieur Poplar and have us cut the material to size. View the step-by-step plan!
Description
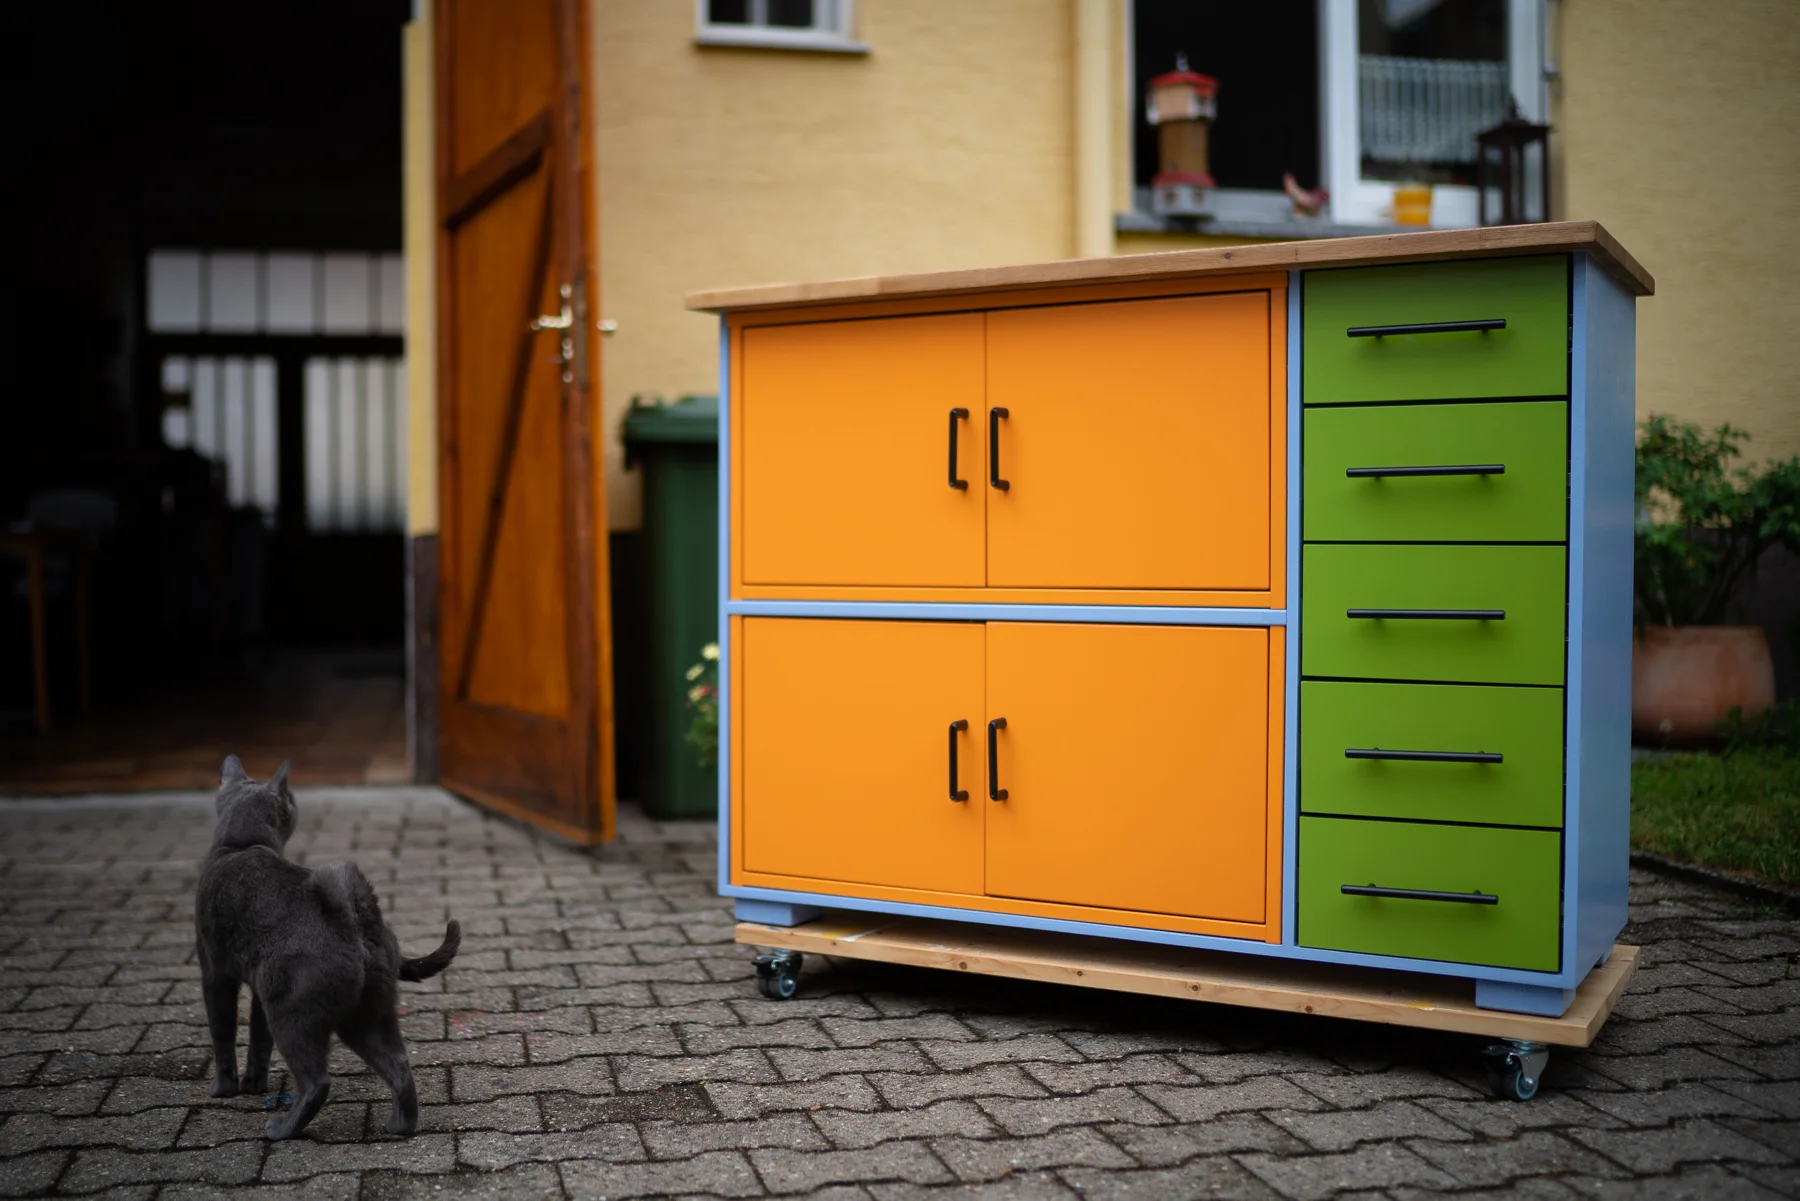
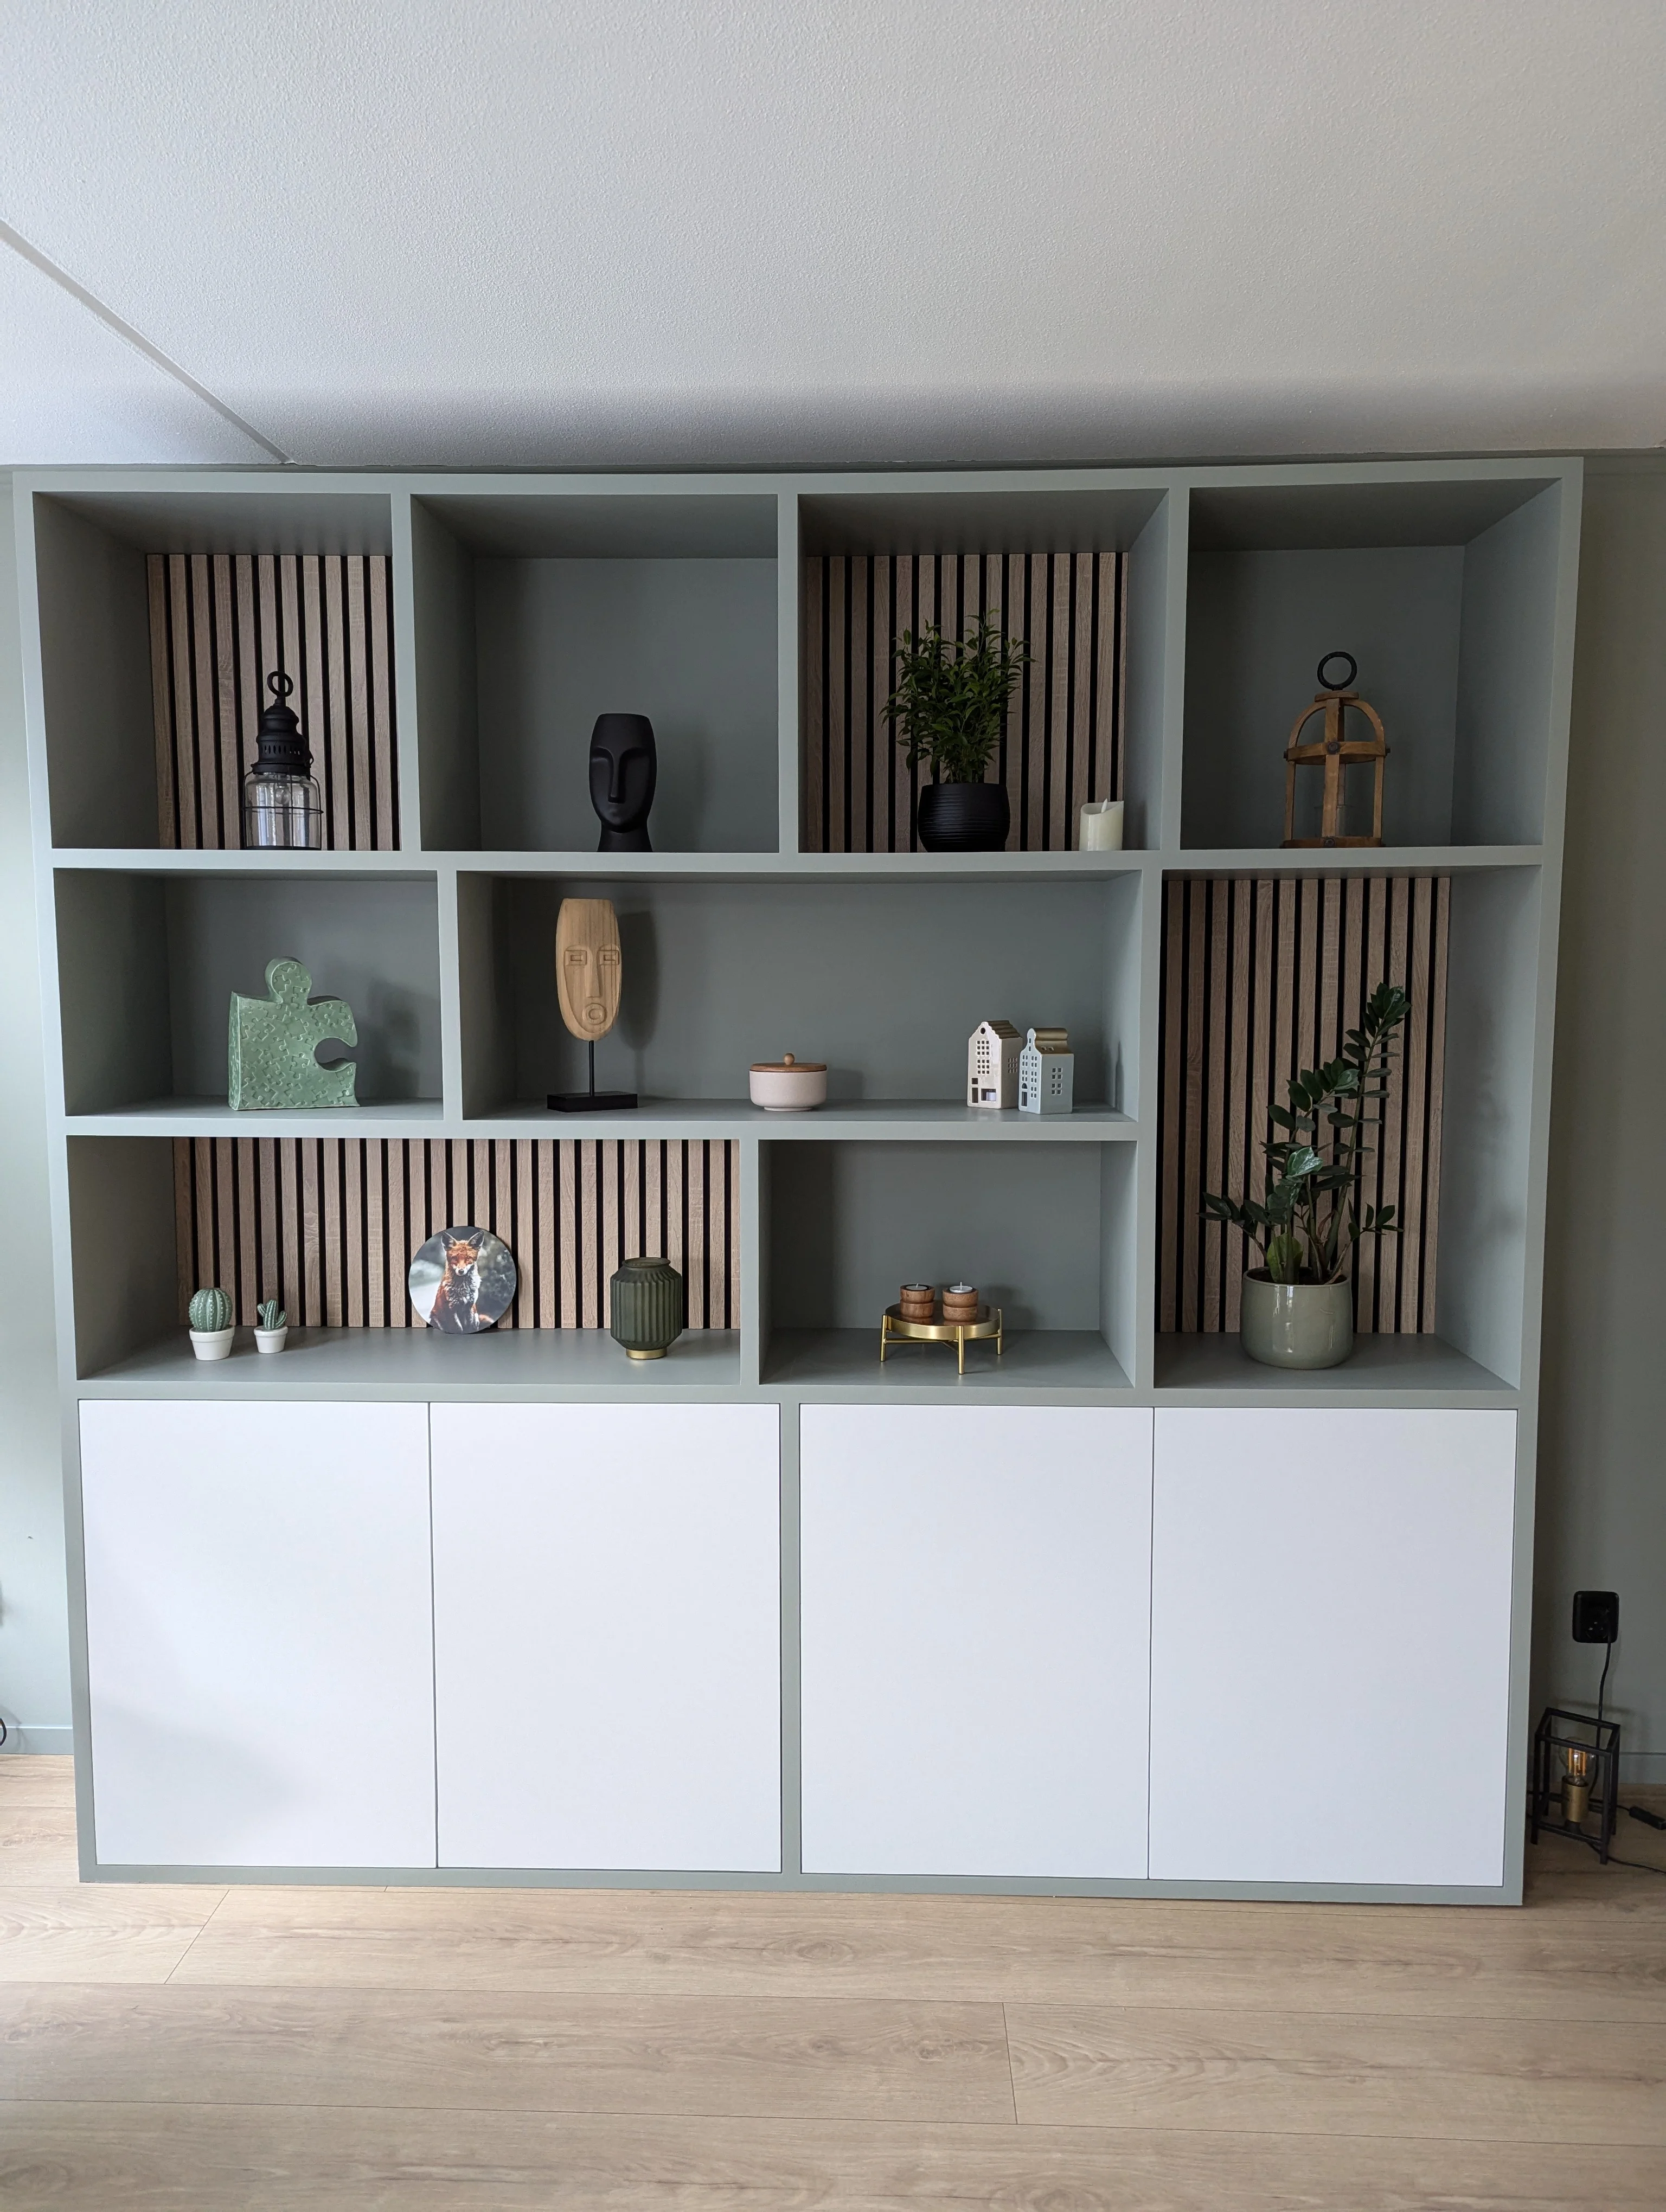
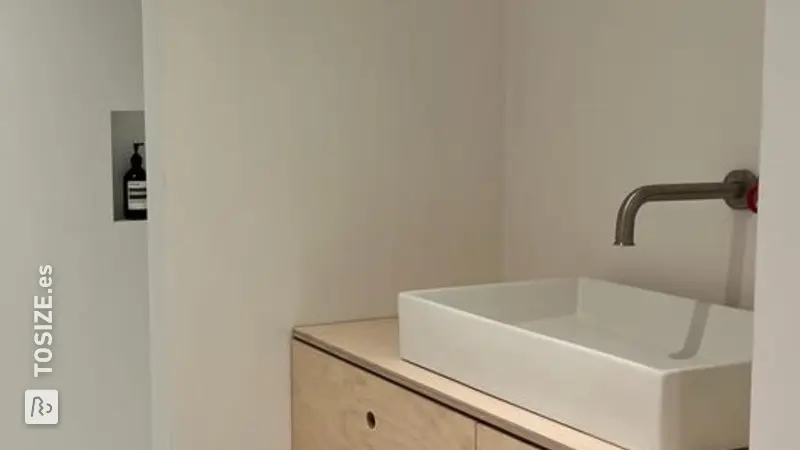
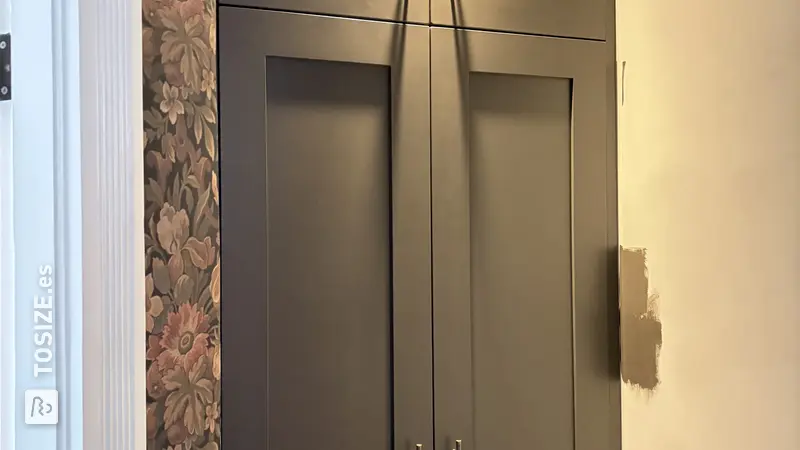
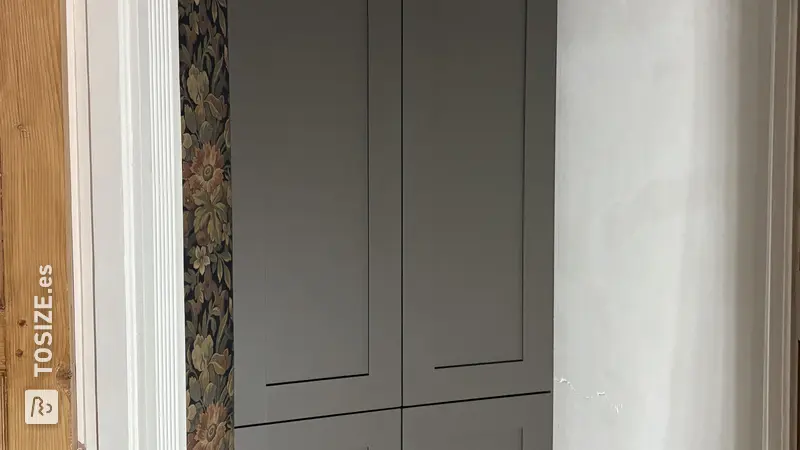
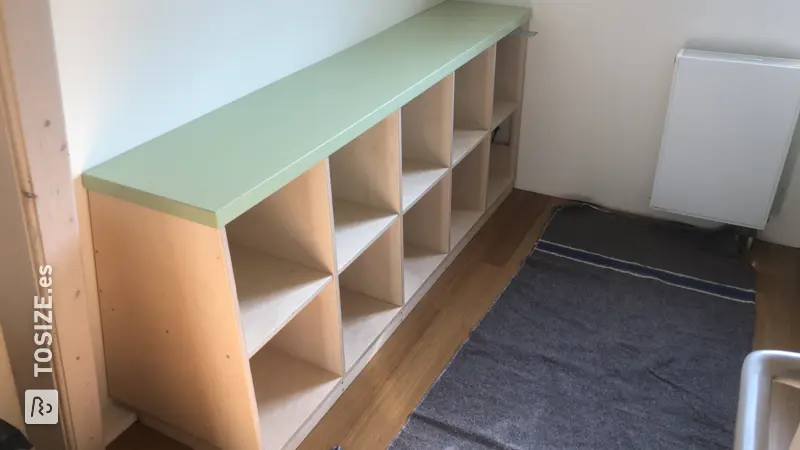
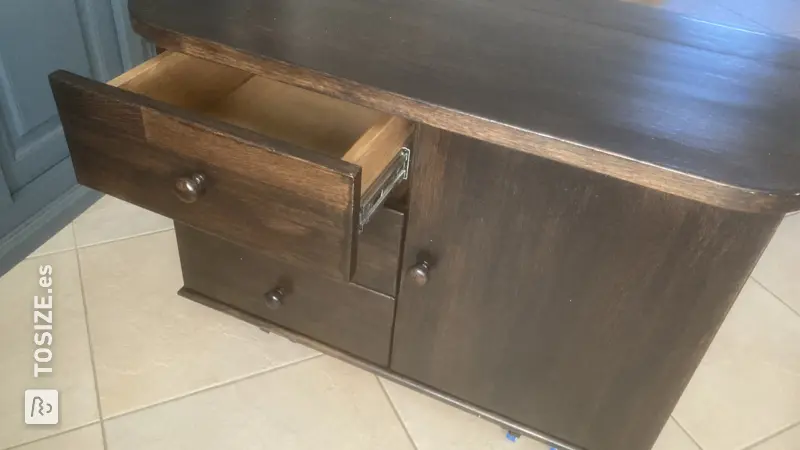
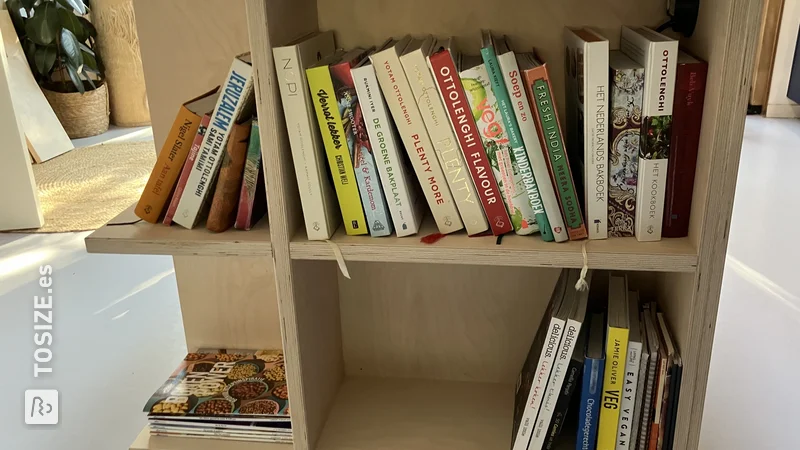
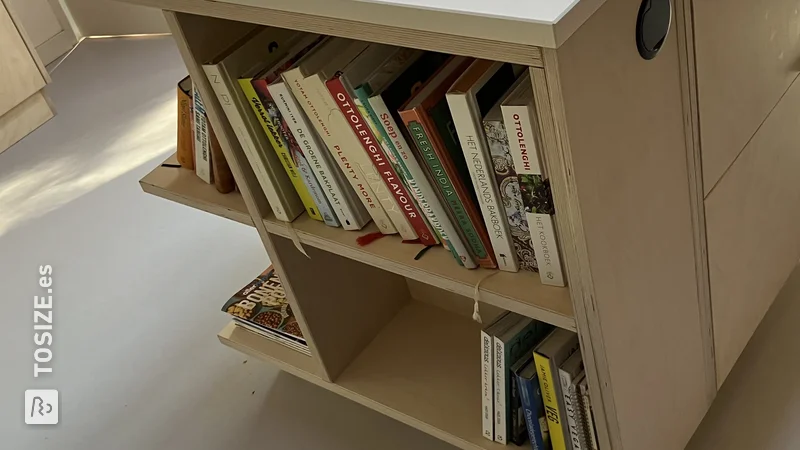
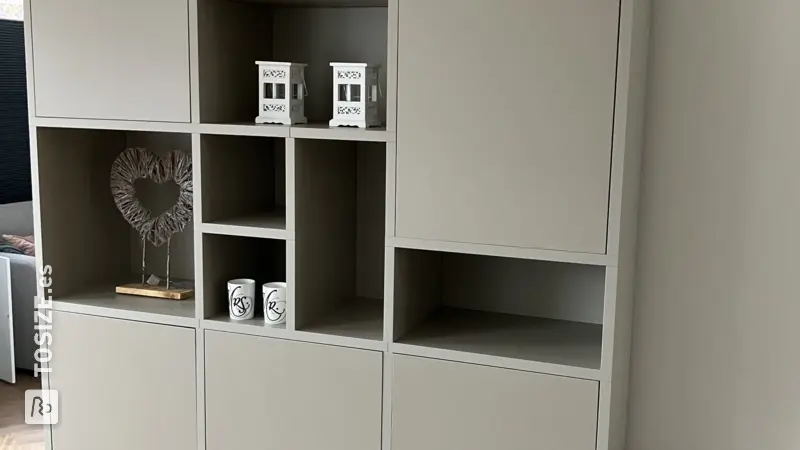
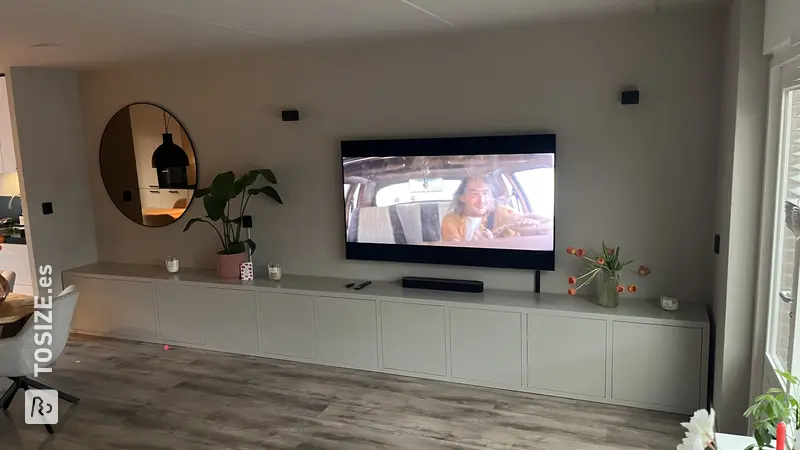
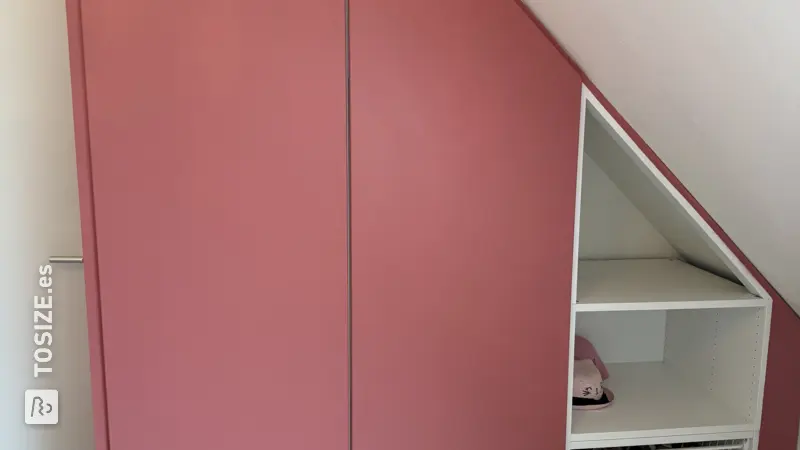
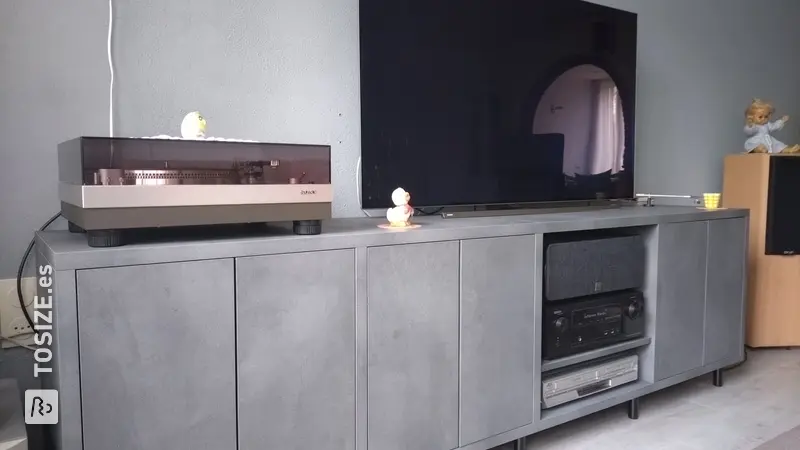
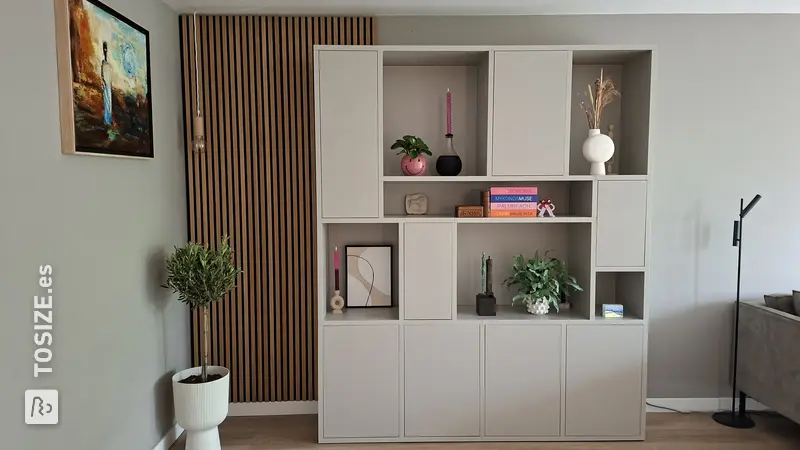
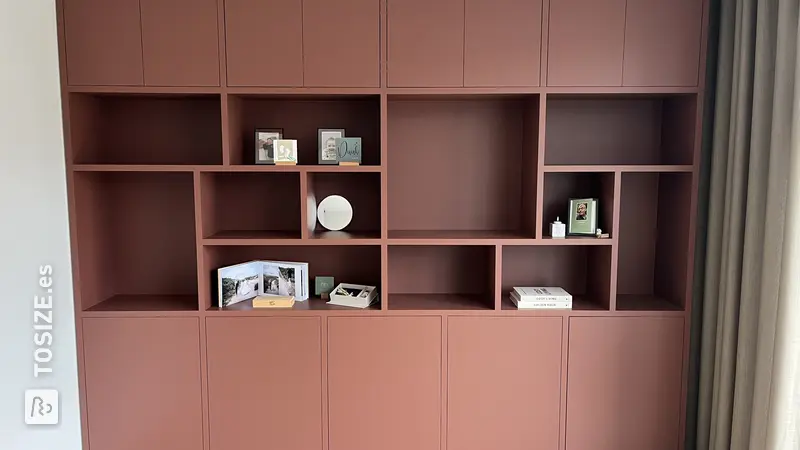
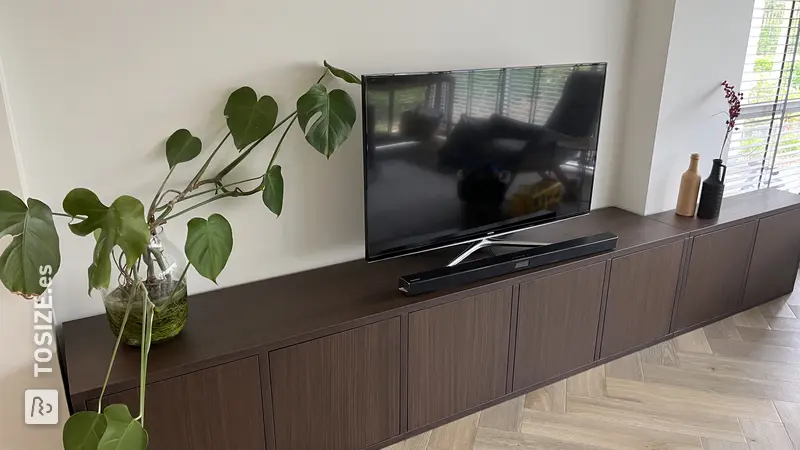
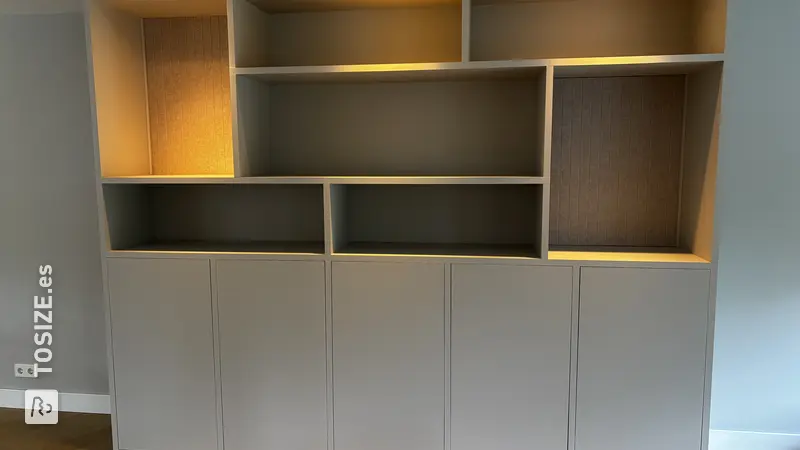
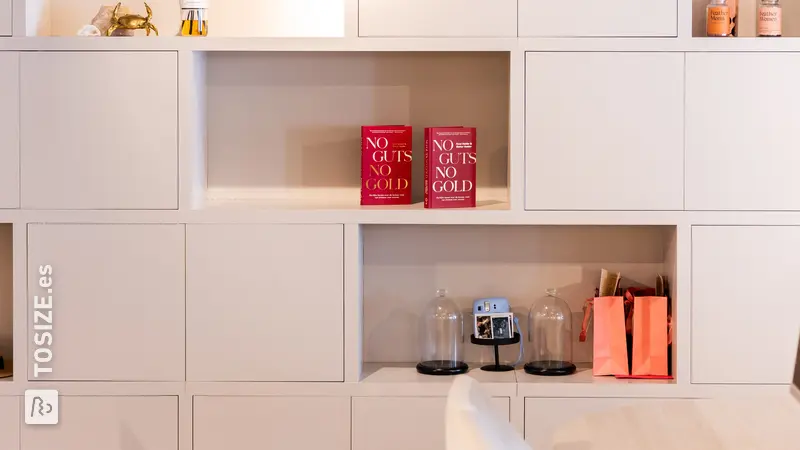
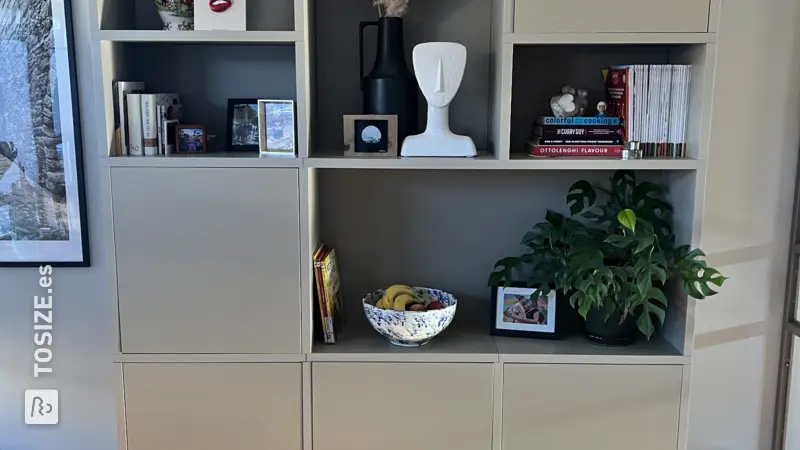
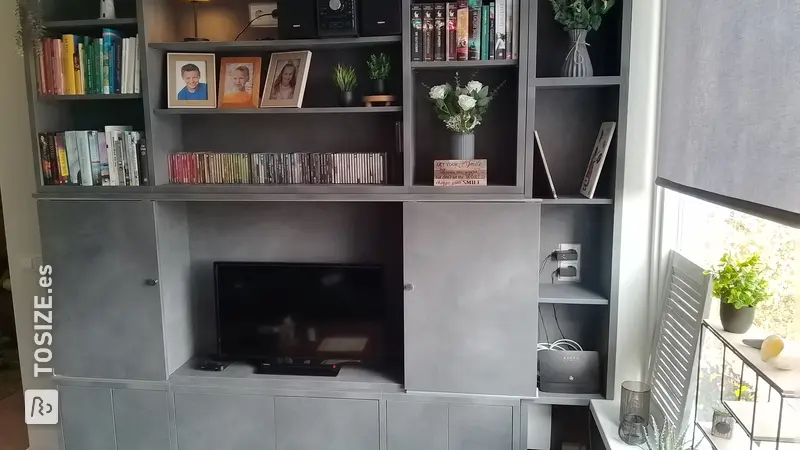
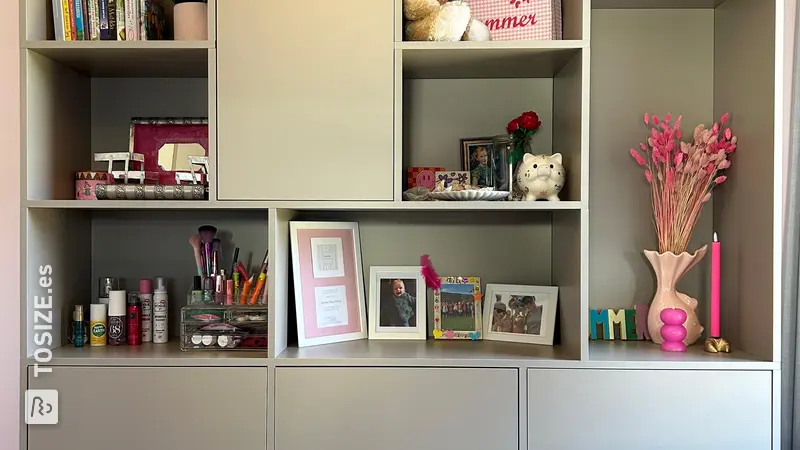
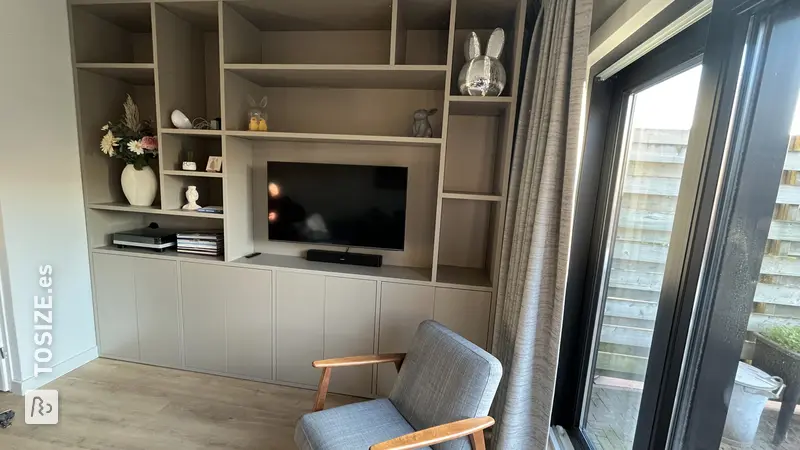
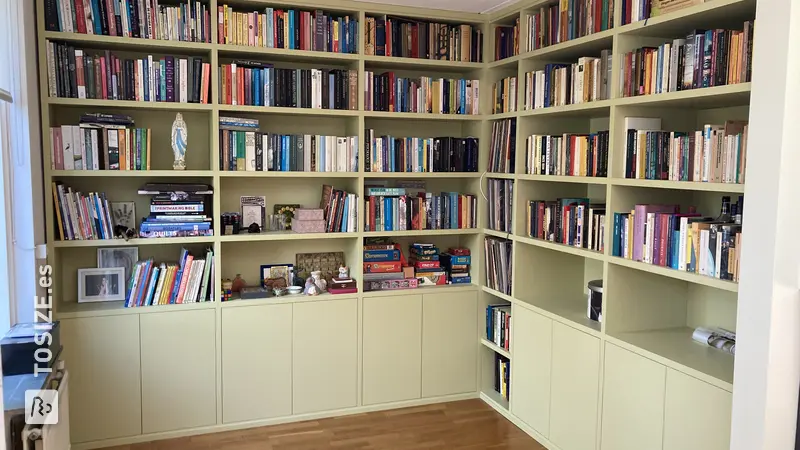
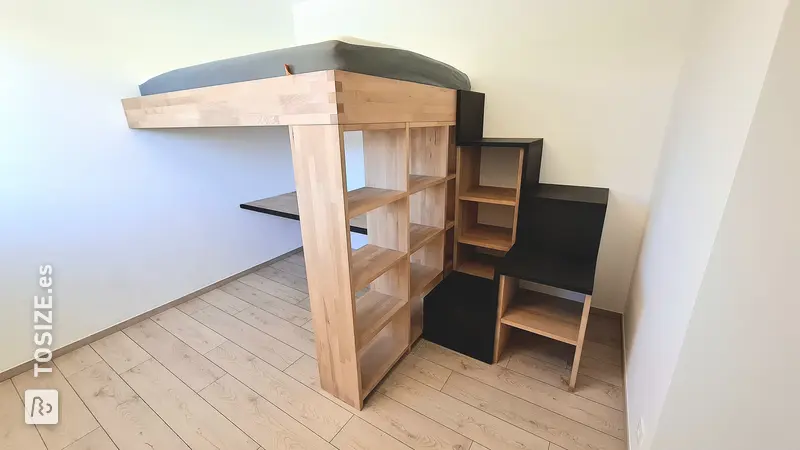
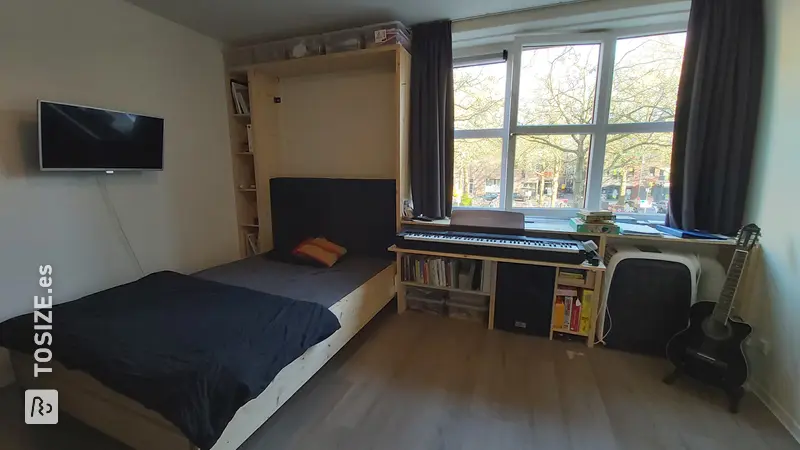
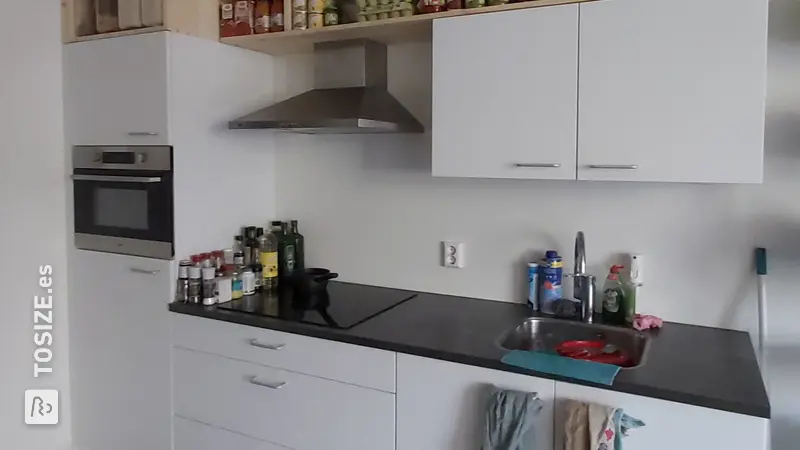
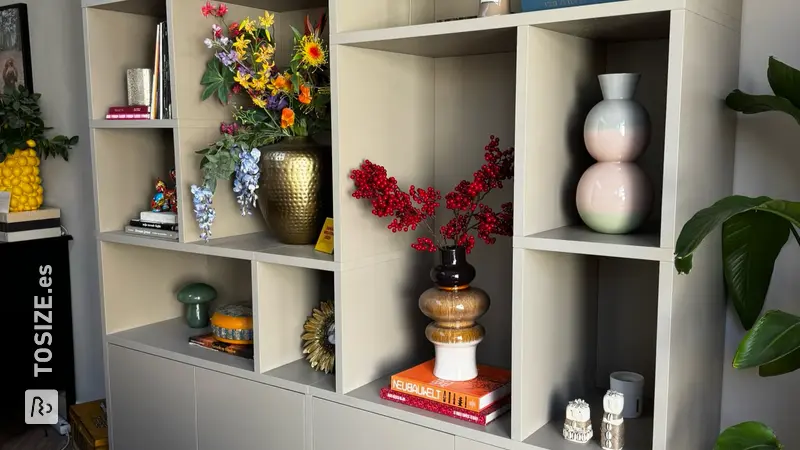
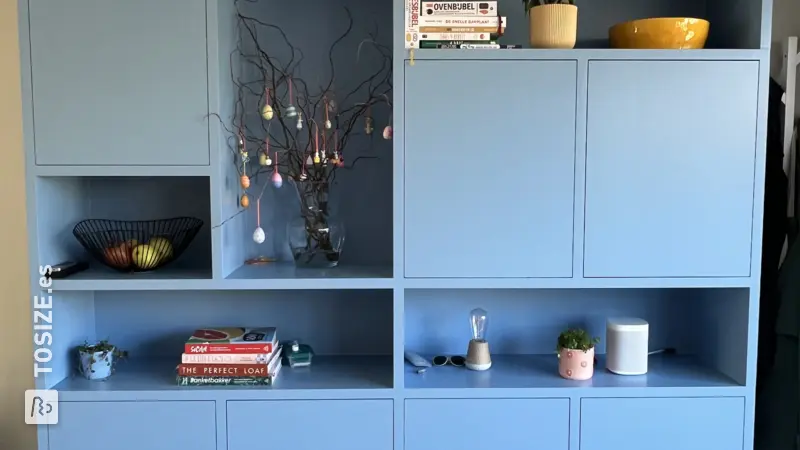
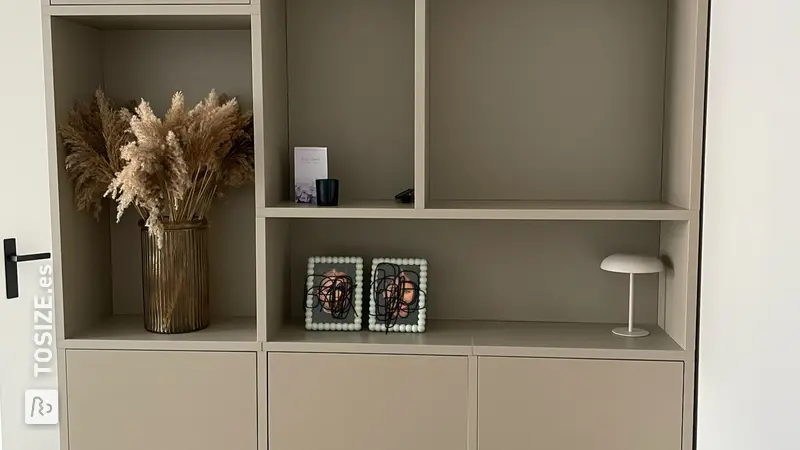
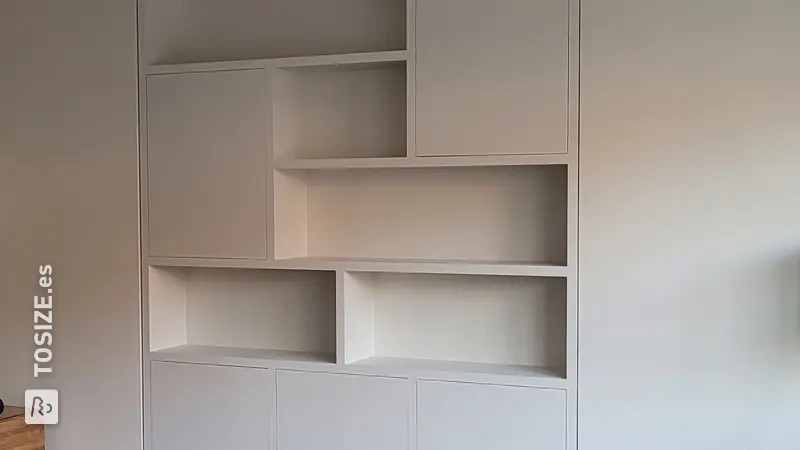
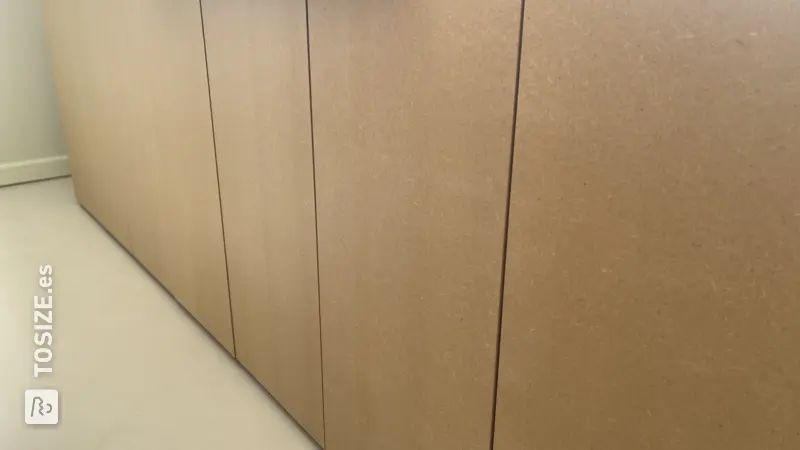
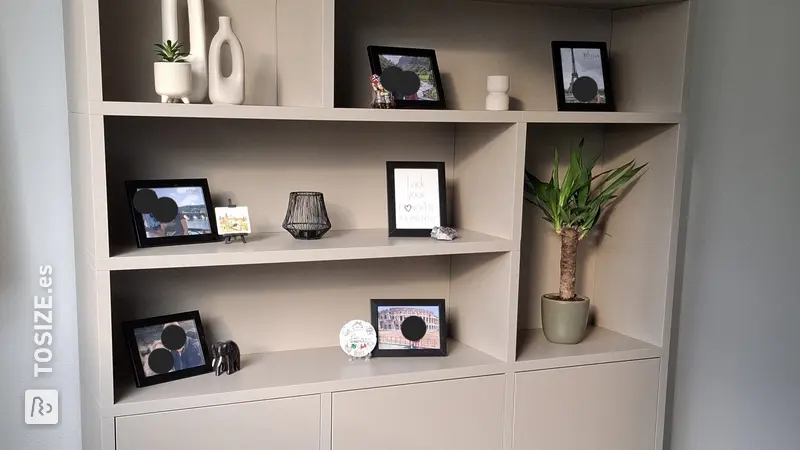
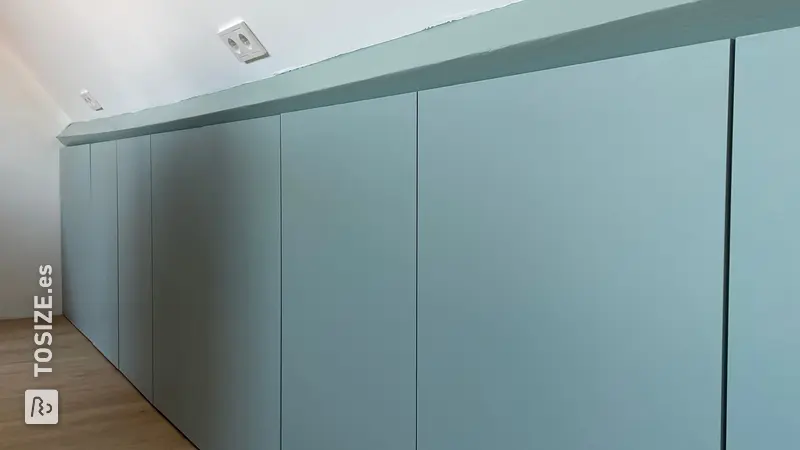
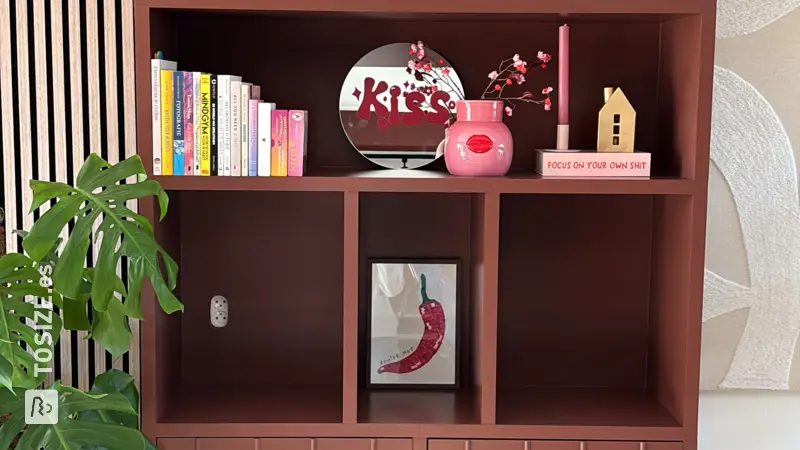
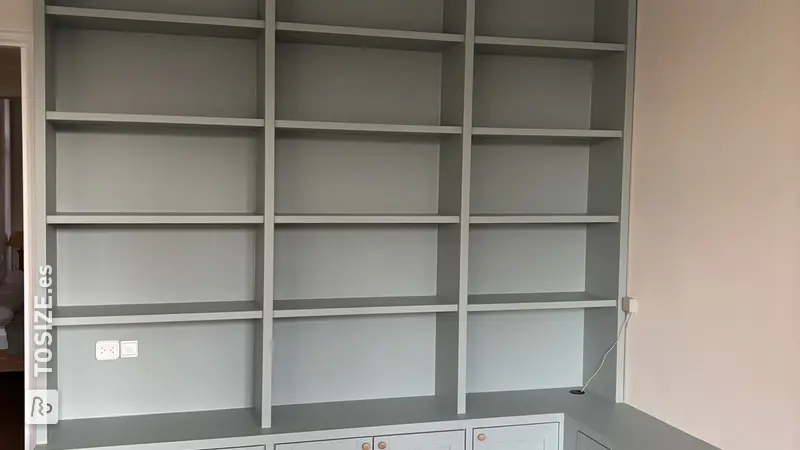
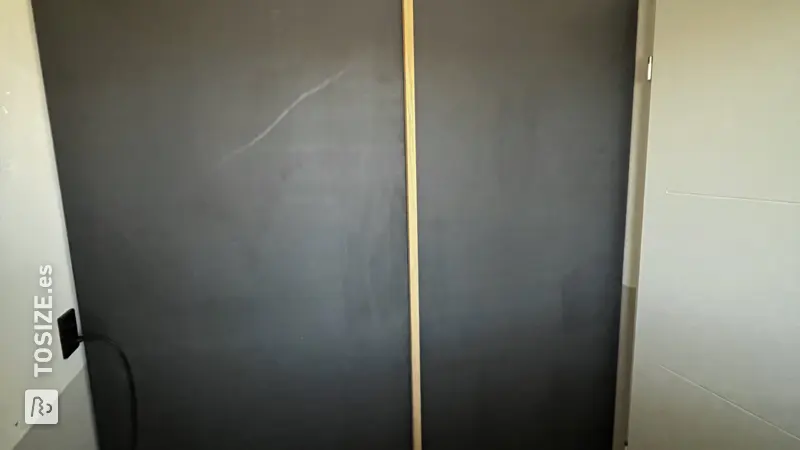
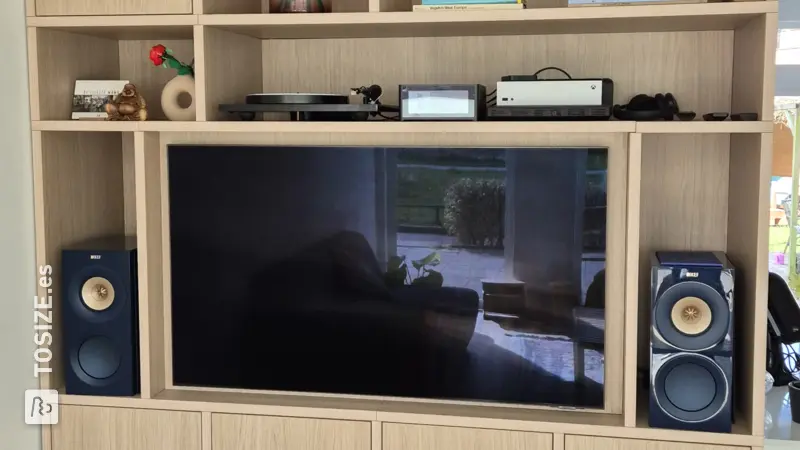
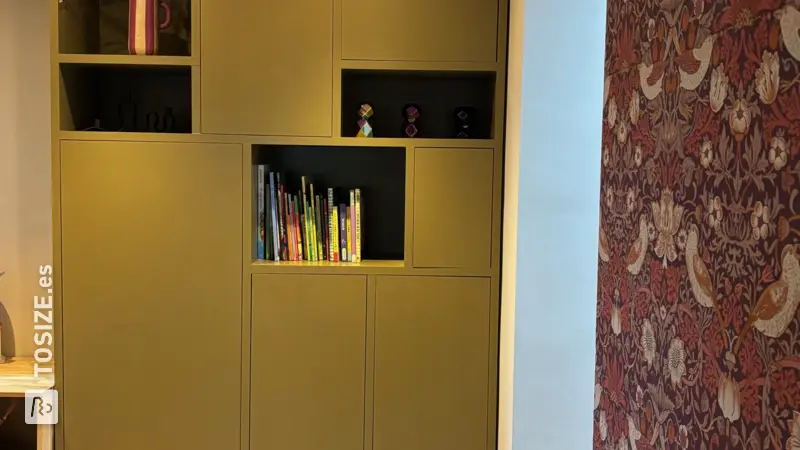
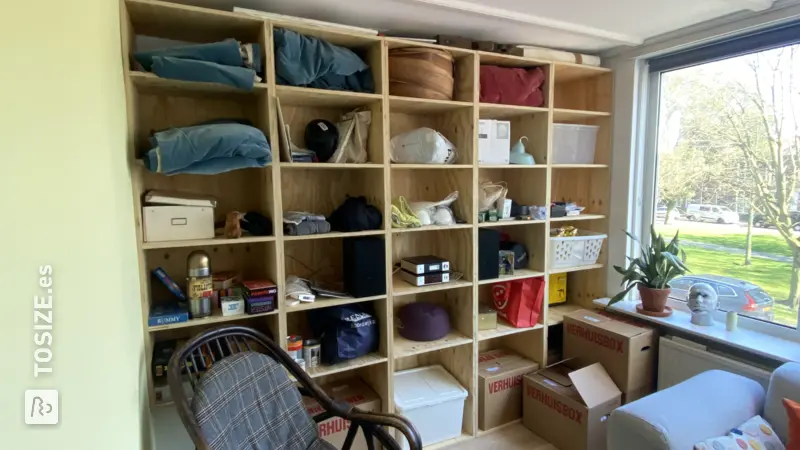
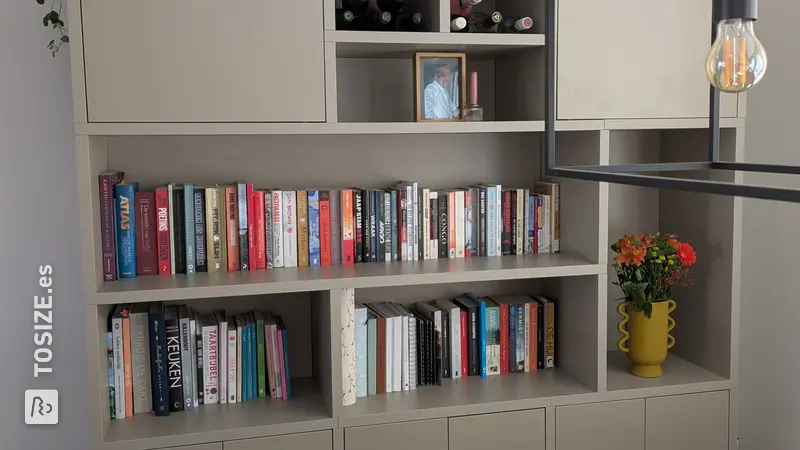
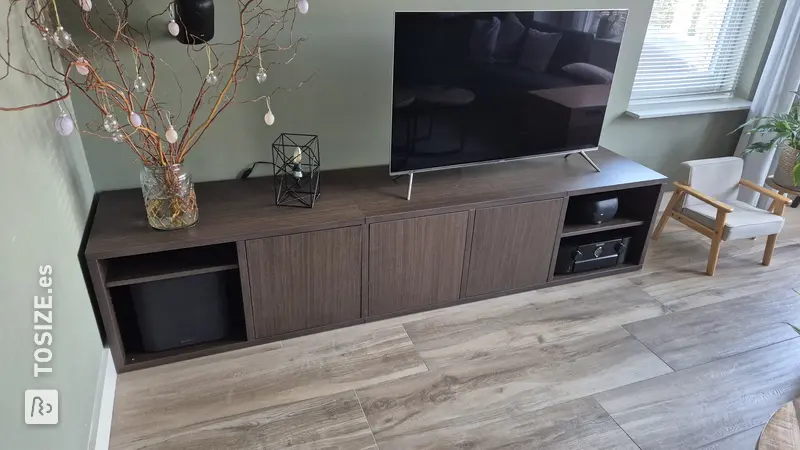
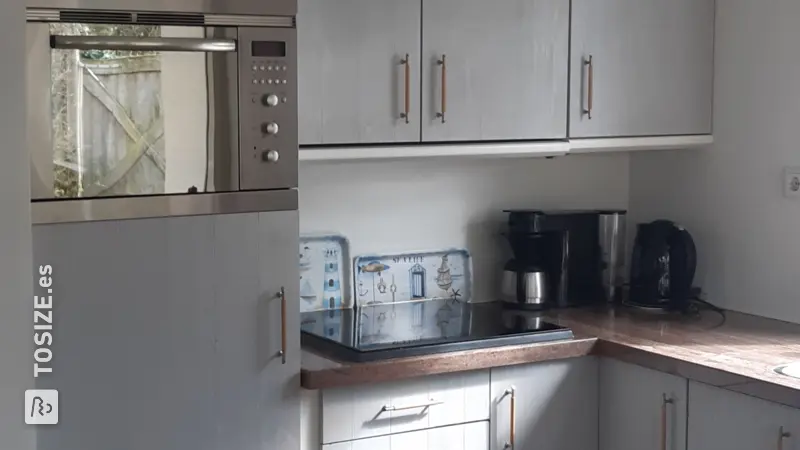
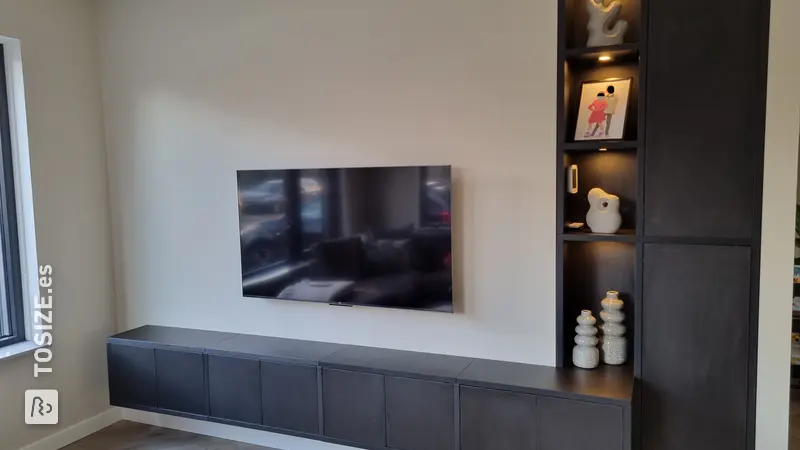
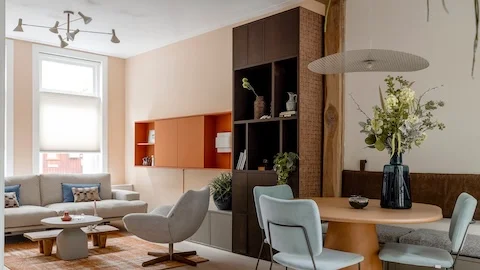
Make a contemporary cabinet from plywood. For the hall, living room, kitchen, bedroom, baby room, children's room, hobby room or playroom. Can be used anywhere actually! We saw the panels to size and even mitered the edges, so that you can immediately start building the job. You can make the cupboard even more personal by painting it or covering it with interior stickers. Whatever you want!
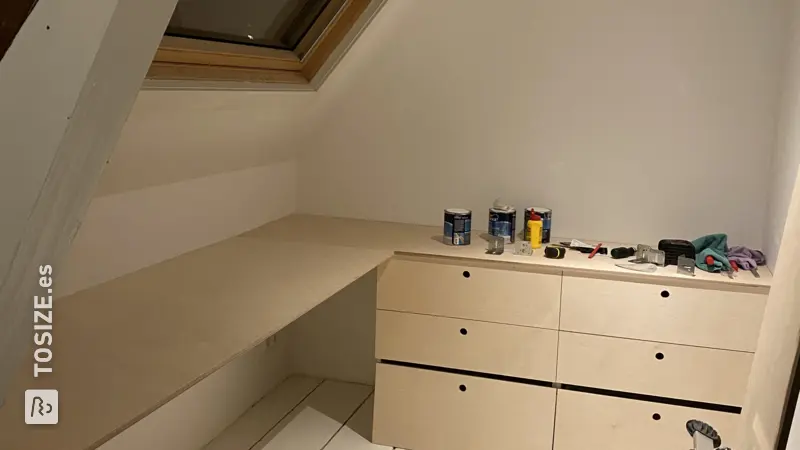
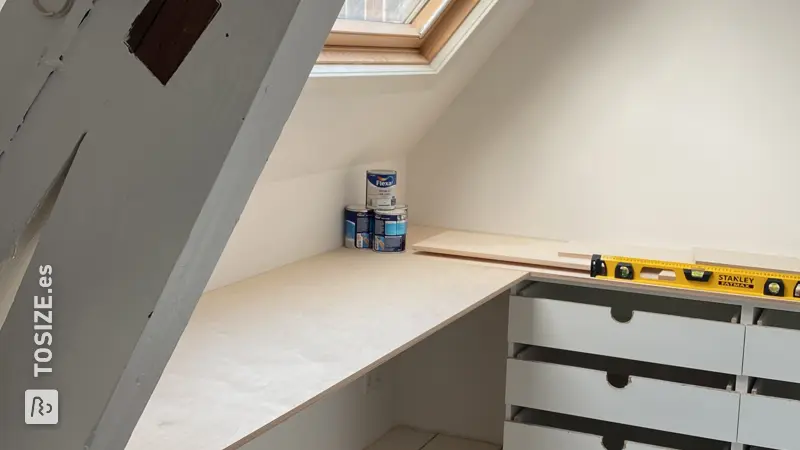
How I made this project
We have already prepared all the material as far as possible. It's your job to attach the planks together. You do this as follows:
Step 1:
Get all your materials and tools ready for use. This takes a little more time upfront, but it helps a lot if everything is within reach during the job!
Step 2:
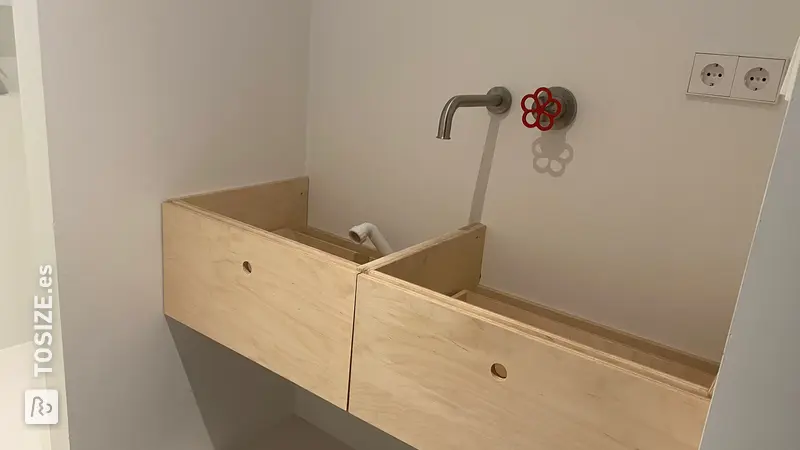
Place the back of the cabinet on your work surface, with the mitered edge facing downstairs. Place the sides of the cabinet with the edges flush against it. Also with the mitered edge down. Tape the edges together with tape. Tightly taped? Carefully turn the plates over. Spread glue on the mitered edges and 'fold' the edges closed, creating the base of the cabinet. Apply extra tape to keep the plates in the right place and allow them to dry properly. Check the exact drying time on the packaging of the glue you are using.
Step 3:
Also attach the top and bottom with glue and then tape it securely to secure the planks to the dry in the right place. Leave the tape around the mitered edges for some strength while the glue dries and the further construction of the cabinet.
Step 4:
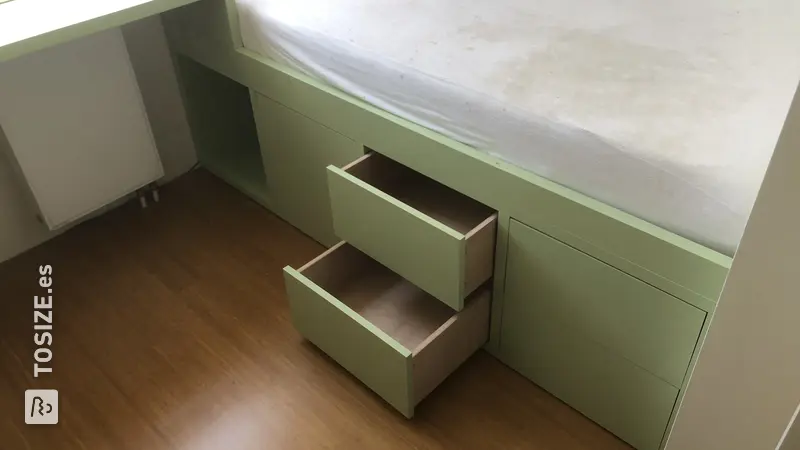
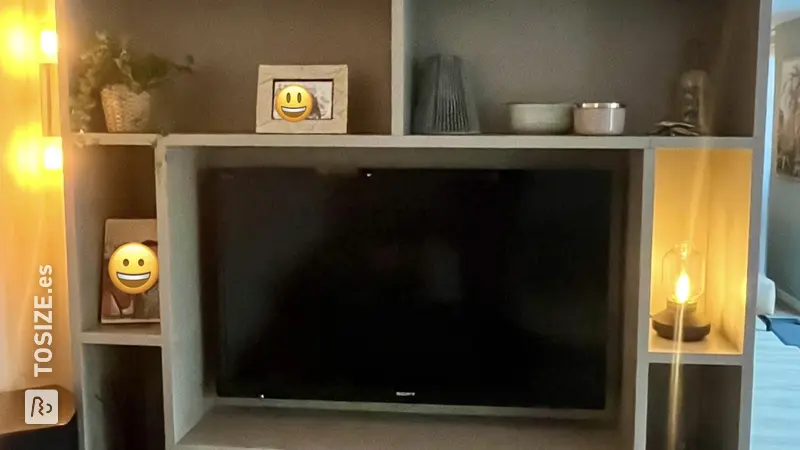
To fill the open space at the top of the box it is important to determine the correct distance. The open compartment is 10 cm according to the design, so the slat that supports the shelf must be mounted 11.8 cm from the top, due to the thickness of the plate (18 mm). It is wise to pre-drill this material with a drill bit that is 1 mm smaller than the screw you are using. This prevents the material from splitting. Do not place the shelf in the cupboard until it is completely finished.
Step 5:
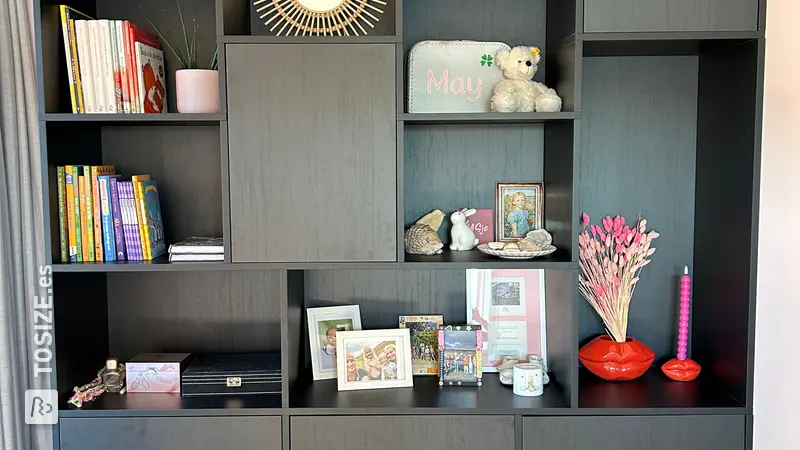
Before you attach the door and the legs, you can drill the holes for the shelf supports. There is a shelf hidden behind the door. First determine the location of the shelf. You can decide this yourself, depending on the items you want to store in it. To prevent you from drilling through the side, you can screw a stop on the drill. Don't have this at home? Then you can easily attach a piece of masking tape to the drill. Then place the shelf supports in the holes.
Step 6:
Attaching the legs is done as follows: glue the parts of the legs together and let it dry. In the meantime, measure where the legs need to be attached. Mark this on the bottom of the cabinet, but also on the inside. That is the place where the screw goes. We placed the legs 6 cm from the sides and 5 cm inwards. Please note, when measuring for the inside, you must take the thickness of the side into account.
First attach the legs with glue and tape. Once the glue has dried, the legs can be screwed into place without sliding while screwing.
Step 7:
Attach the door to the cabinet with a piano hinge. Cut the hinge to a length of 64 cm, the same length as the door itself. Mark the screw holes on the door, pre-drill them and attach the hinge with screws. Repeat this, but then attach the door to the cabinet. Please note: when you are going to screw into the end side of the wood, it is extra important to pre-drill! This way you prevent the material from splitting.
Step 8:
The doorknob is specially sawn into a parallelogram. Decide where you want to attach the knob on the cabinet door and glue it in place. Let it dry with a piece of tape over it and screw the knob to the door from the inside.
Step 9:
Finally, install a magnetic snapper at the top of the cabinet. This way the door stays neatly closed.
Dimensions of my DIY project
~60.0 x ~90.0 x ~36.0 cm
Tip! Also check out our handy DIY tips!
What now?
Want to make this DIY project? Check out Ivonne's saw list and complete your order easily.
166,34 €
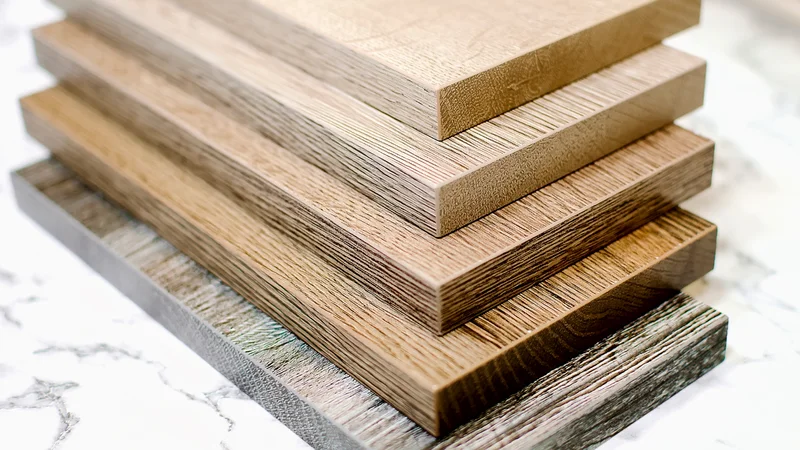
All materials used
View all sheet materials